Confused by counter height versus bar height? Wrong height wastes money and comfort. Use this guide to make a clear choice that fits bodies, tasks, and space.
To choose island height in five steps, define your main tasks, check user heights, pick a target counter height, match stools and legroom, then confirm walkways and overhang. Test with full-size mockups before you order anything.
You will see simple rules for daily cooking, baking, and seating. You will see tables you can use with your room sizes and stools. Read the answers, then follow the steps and decide with confidence.
What is the standard kitchen island height?
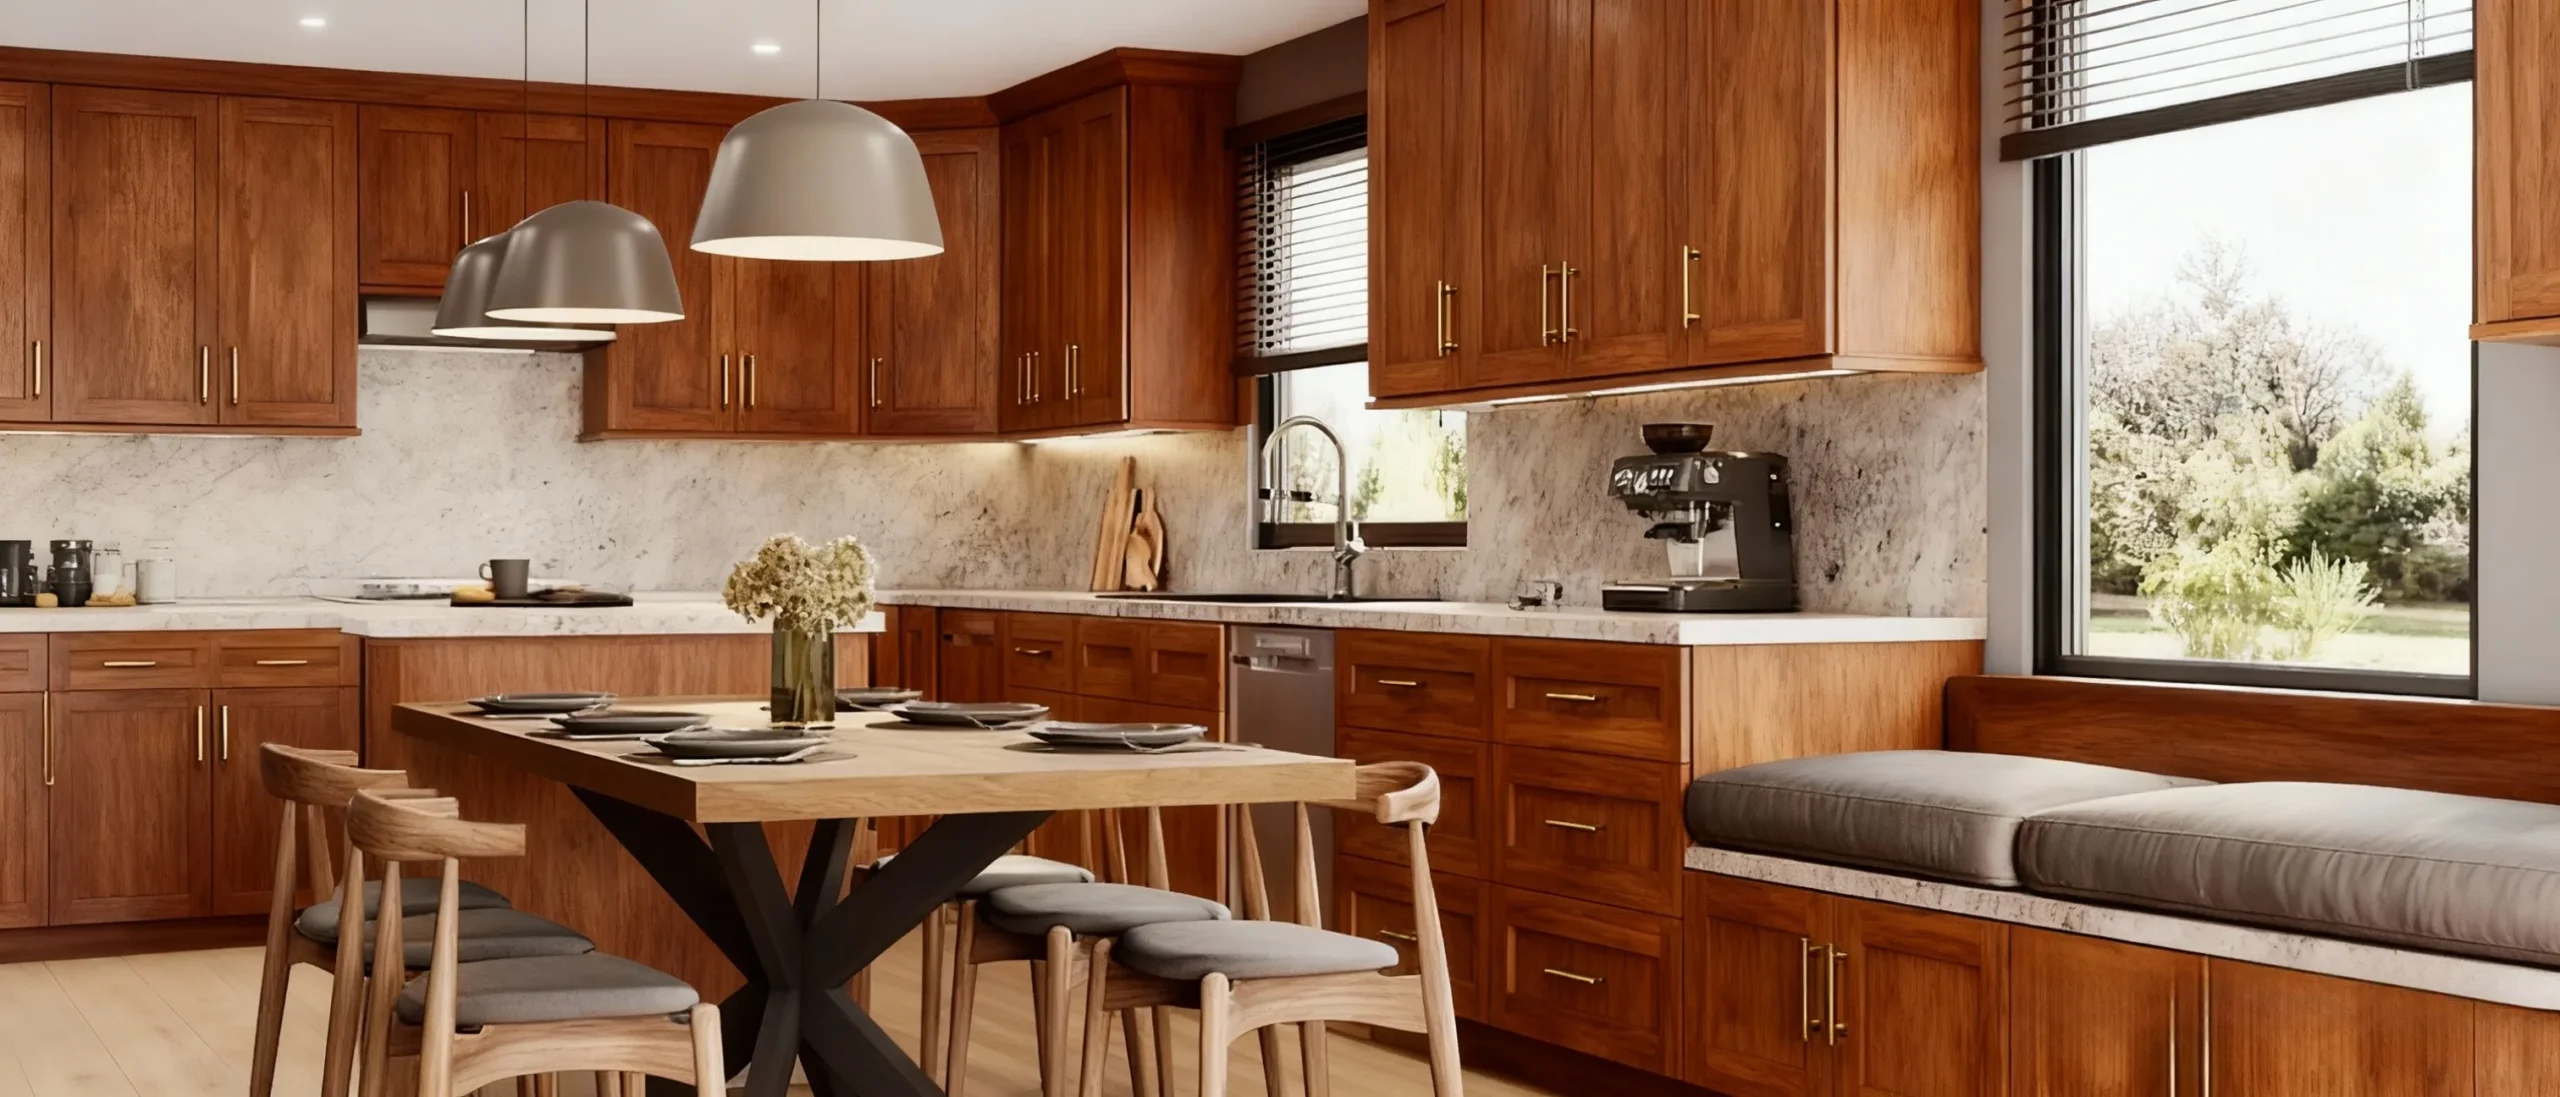
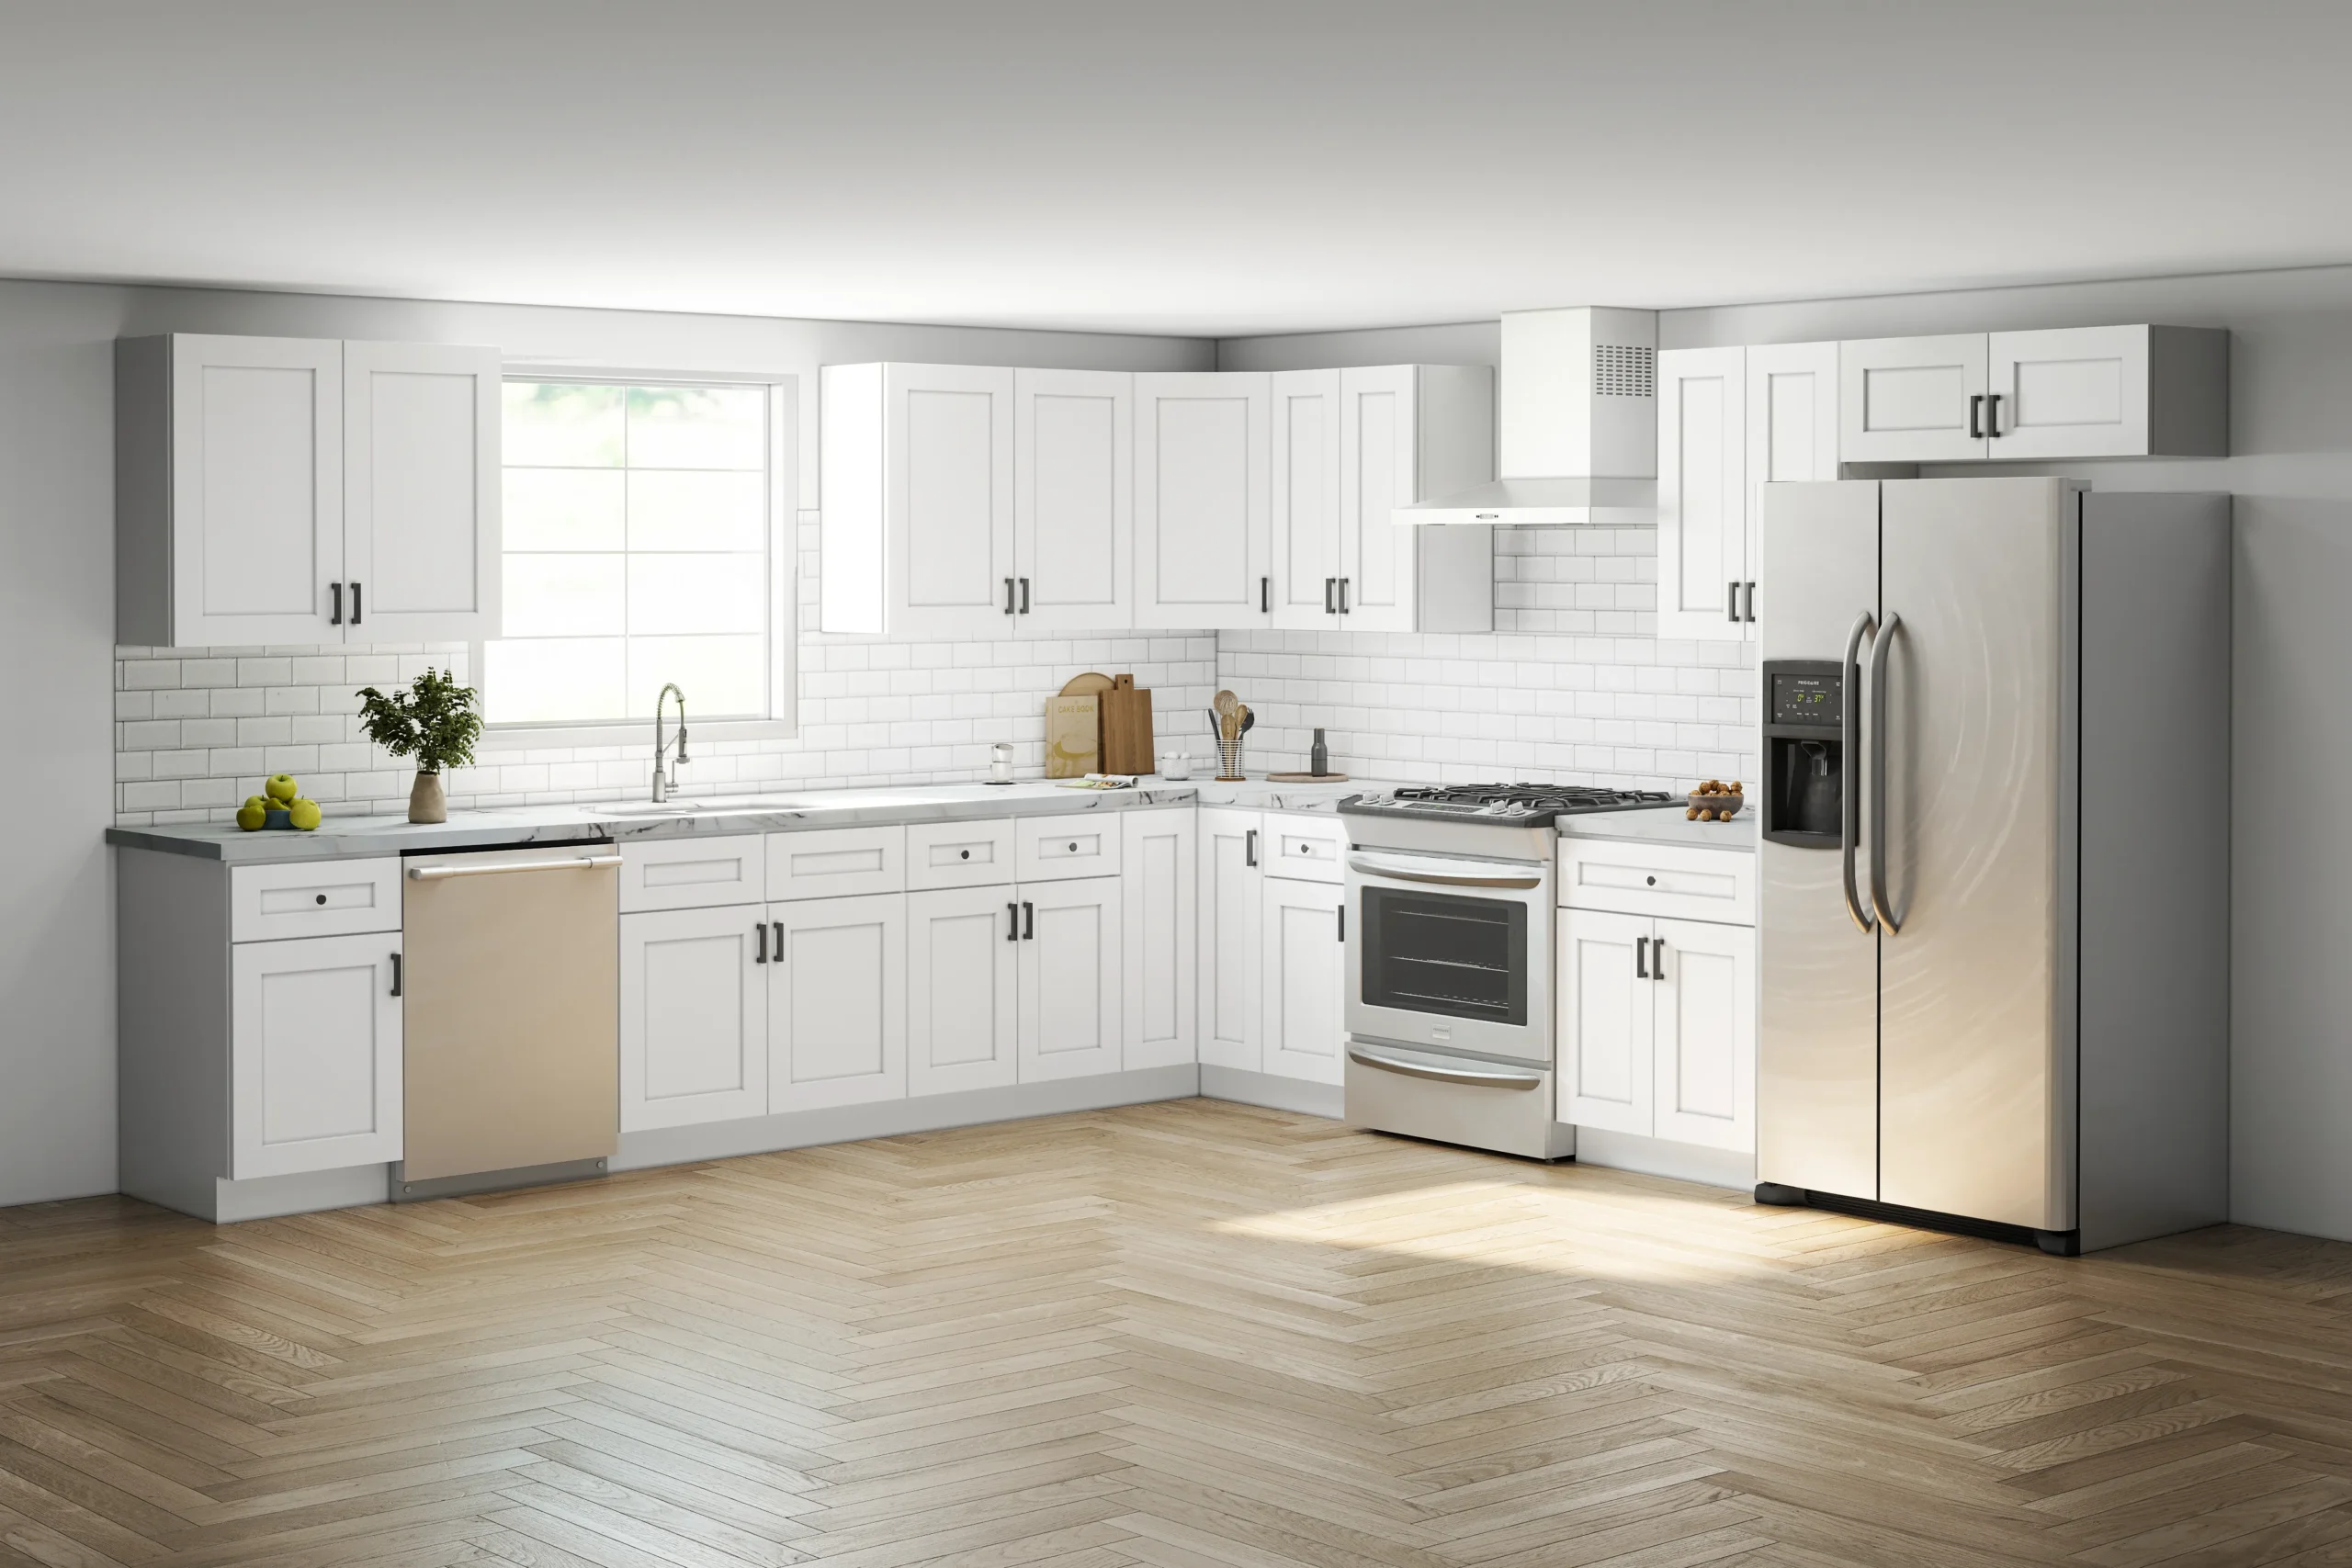
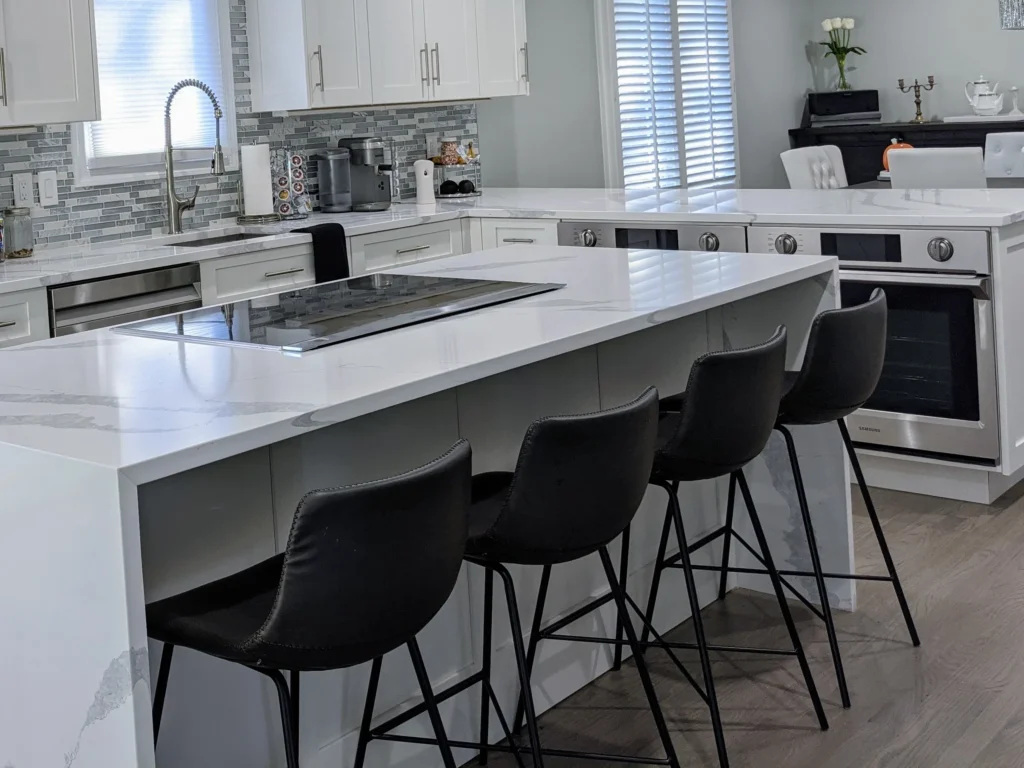
Busy families need a simple rule. The common standard is 36 inches for a working island. It supports prep, cooking, and casual meals. It aligns with most surrounding countertops and appliances.
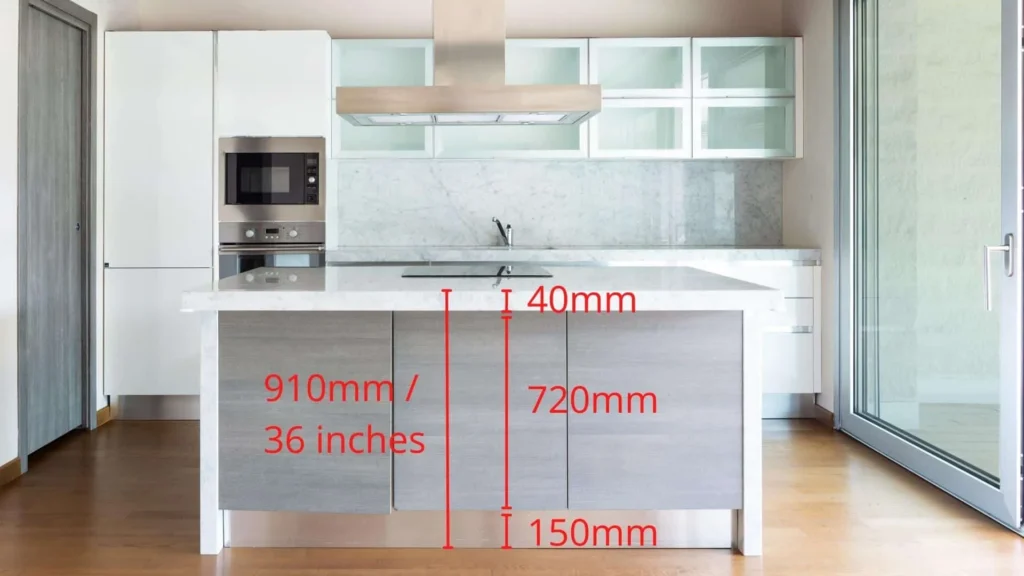
The 36-inch standard exists for good reasons. It suits most tasks and most bodies. It keeps lines even with other counters, so the room looks calm. It fits off-the-shelf appliances and many stools designed for counter height. Yet “standard” is not “best for all.” Some cooks are very tall or do lots of baking. Some families want a social bar edge to hide mess. So use the standard as a starting point, not a fixed rule.
Quick reference
| Use case | Typical height | Notes |
| General prep / family | 36″ | Works for most people |
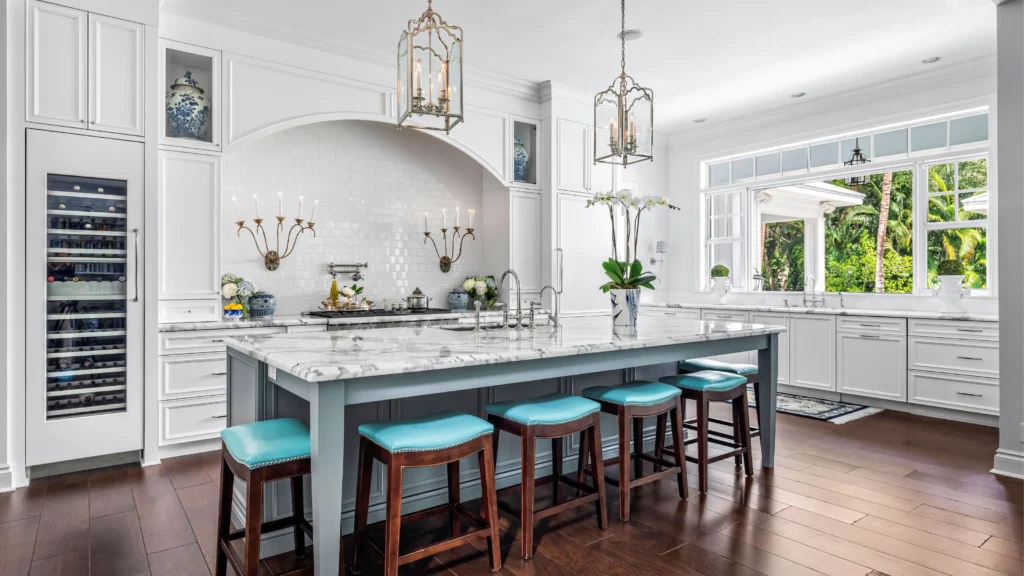
| Standing bar / perch | 42″ | Hides sink mess, zones space |
| Baking station | 33–34″ | Lower helps rolling and force |
The five steps at a glance
- Define main tasks (prep, bake, seat).
- Measure user heights.
- Pick a target height (36″, 42″, or custom).
- Match stool height and legroom.
- Confirm walkways and overhang, then mock up.
Is 36 inches better than 42 inches?
It depends on tasks and who uses the island. 36″ gives a big, single work surface and easy reach. 42″ creates a raised edge that hides clutter and feels like a social bar.
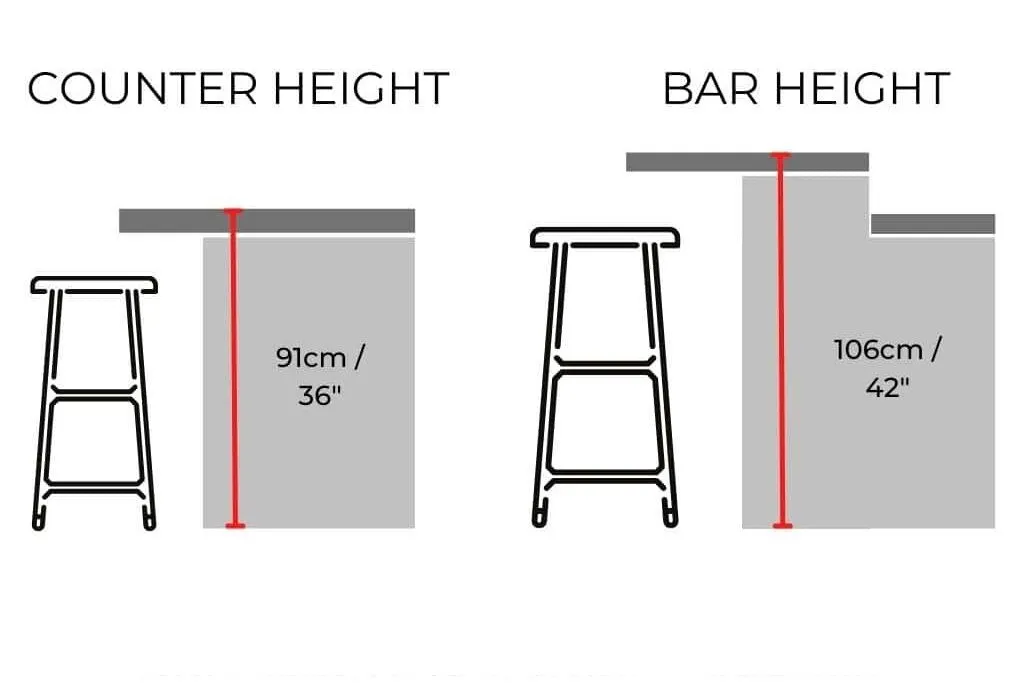
When you cook often and want a wide, clean plane, 36″ wins. It feels open, helps kids and seniors, and keeps heavy pots within easy lift range. When you host and want to hide the sink area, 42″ helps. It creates a visual screen and a stand-and-lean rail. It also splits hot work from seating. The trade-offs are simple: 42″ can reduce reach for shorter users and may require taller stools; 36″ shows more of the messy area and offers less visual separation.
Pros and cons table
| Height | Pros | Cons |
| 36″ | Big continuous surface; easier reach; kid/senior friendly | Mess more visible; less visual zoning |
| 42″ | Hides clutter; social rail; zones prep vs seating | Harder reach; taller stools; more steps for kids |
Decision tip
If you cannot decide, consider a two-level island or keep the island at 36″ and add a slim raised ledge only where you need privacy.
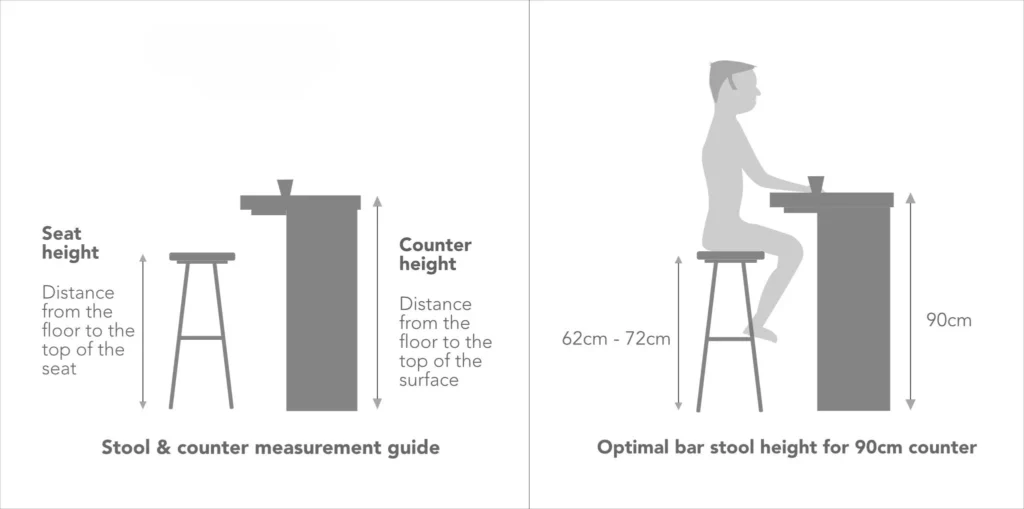
What stool height matches my island?
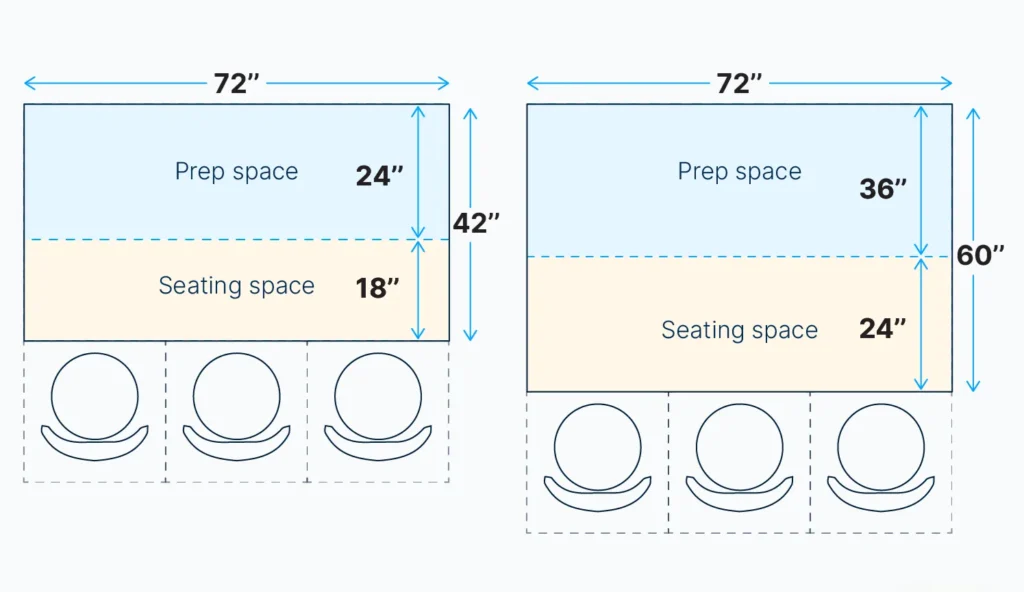
Stools must fit the island height and leave space for legs. Most counter-height islands (36″) use 24–26″ seat height. Most bar-height islands (42″) use 28–30″ seat height.
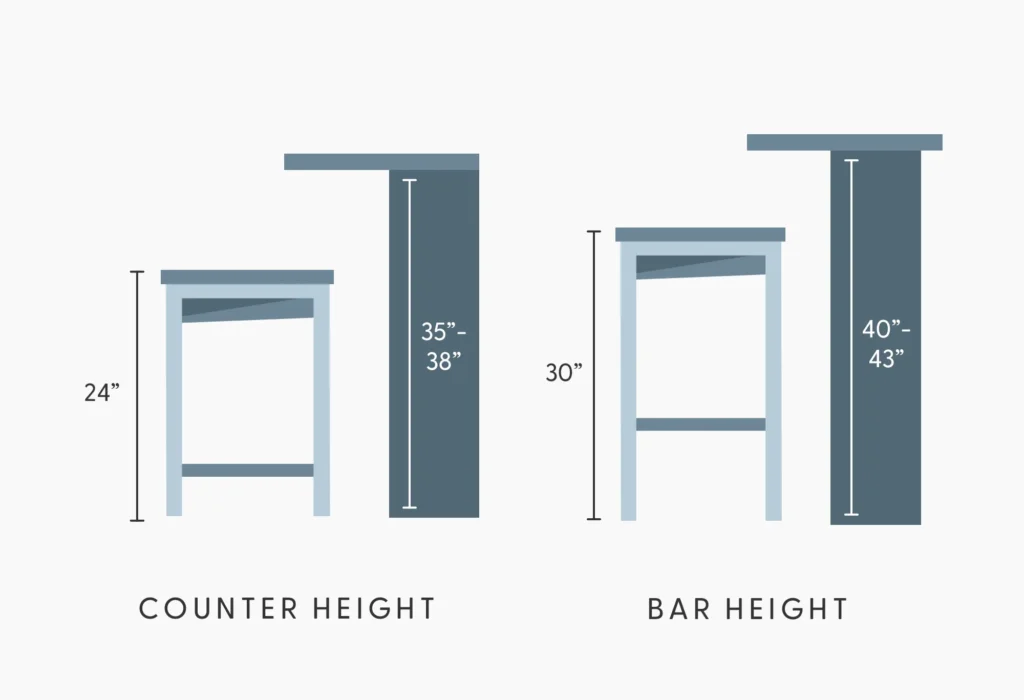
Seat height is only part of comfort. You also need knee clearance and overhang depth. Without both, seating feels cramped and you get shin bumps. A good rule is 10–12 inches from seat top to counter top. This gap lets knees fit and arms rest. Overhangs of 12 inches work for short sits; 14–16 inches feel better for long sits. Do not push stools too close to corners or appliances; leave room to slide in and out.
Matching chart
| Island height | Typical stool seat | Seat-to-top gap | Overhang target |
| 36″ (counter) | 24–26″ | 10–12″ | 12–14″ |
| 42″ (bar) | 28–30″ | 10–12″ | 14–16″ |
Comfort checks
- Try the stool under a mock top at real height.
- Check knee and shin clearance with shoes on.
- Test turning space; aim for 24″ per stool, 30″ for comfort.
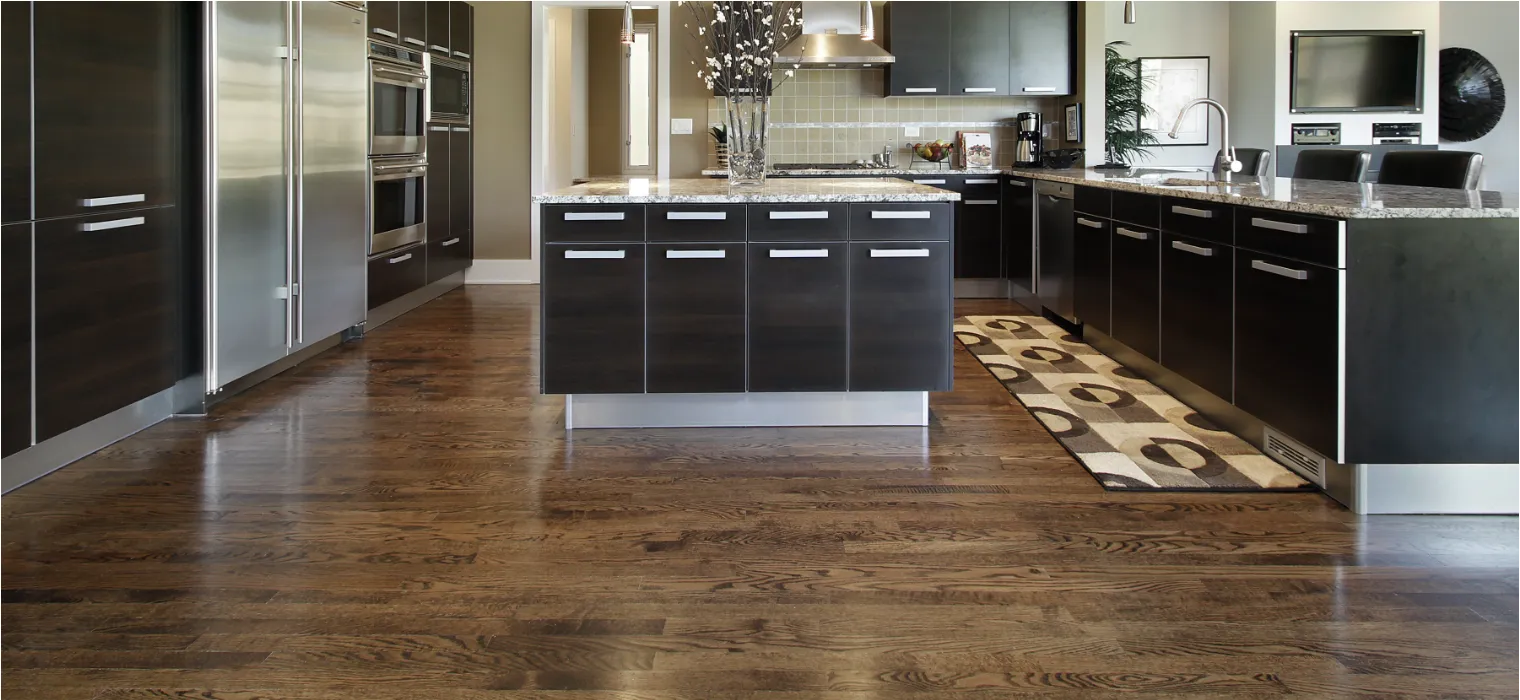
Should a kitchen island match surrounding countertops?
Usually yes, for a clean look and easy installation. Matching 36″ lines keep sightlines calm. But you can break the rule for function: a raised bar edge or a lowered bake zone can help.
A matching height gives visual unity and smooth edges across the room. It avoids odd joints and trim. It simplifies backsplash and appliance fits. Yet life is not one height. If you knead dough often, a lower slab saves wrists. If your sink is on the island and you host a lot, a higher screen hides dishes and splashes. Make sure the change in height has a clear purpose. Keep transitions tidy with clean reveals and end panels.
When to match vs. break
| Scenario | Match heights? | Why |
| Small kitchen, open plan | Yes | Calm lines, larger feel |
| Bake station needed | Break (lower zone) | Ergonomics for rolling |
| Mess seen from living area | Break (raise edge) | Hide sink area |
Detailing tip
If you mix heights, keep the main run straight and use the change only where function demands it. Align cabinet doors and toe kicks to avoid visual clutter.
Is a two-tier island worth it?
It can be, if you need to split cooking from seating or want to hide mess. A two-tier design gives a 36″ work plane and a 42″ bar in one compact footprint.
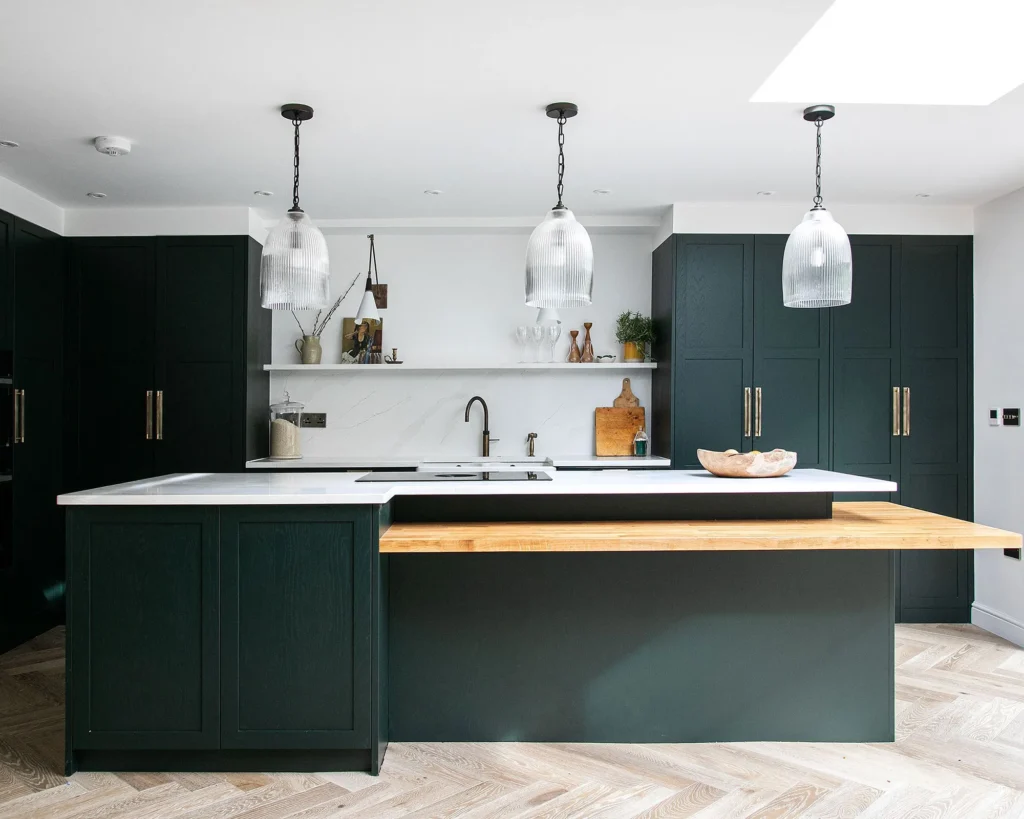
Two-tier islands help when the kitchen faces a living room. The higher tier shields the sink, dish rack, and cutting boards. Guests perch at the bar, while the cook works on the lower plane. The trade-offs: fewer large baking spreads, more edge lines, and a bit more cost and complexity. If you choose two tiers, place the sink on the lower side so water does not run toward seating. Keep outlets on the raised face for phone charging and small appliances.
Layout notes
- Put seating on the raised side away from hot zones.
- Keep a minimum overhang of 12–14″.
- Use a rounded or chamfered edge on the bar to protect forearms.
- Plan lighting for both levels to avoid shadows.
When to avoid
If you need a huge single sheet for pastry or large projects, a single-level 36″ island may serve you better. You can still add a slim privacy rail near the sink.
Which island height works for kids and seniors?
For mixed ages, 36″ is usually best. It is easier for kids and seniors to reach, clean, and use safely. Add counter-height seating and sturdy footrests for stable climbs and exits.
Children and seniors benefit from fewer steps up and down. Counter stools with backs and footrests improve balance. A lower work plane reduces wrist strain for many daily tasks. Use drawers for heavy pots at waist height. Add soft-close slides and rounded edges to protect fingers and hips. Good lighting prevents trip risks and helps with fine tasks. If you want a raised screen for privacy, keep it small or local so access stays easy.
Ergonomic pointers
- Use D-pulls or edge pulls that are easy to grip.
- Keep microwaves and air fryers out of reach zones for kids.
- Use anti-slip pads under stools and clear floor paths around the island.
- Set outlets at accessible heights and avoid cords across seating zones.
Height tuning by stature
| Primary user height | Comfortable counter |
| 5’0″–5’4″ (152–163 cm) | ~34–35″ |
| 5’5″–5’10” (165–178 cm) | ~36″ |
| 5’11″+ (180 cm+) | ~37–38″ |
What island height suits bakers best?
For rolling dough and kneading, lower is better. A 33–34″ zone reduces shoulder lift and wrist strain. If the whole island cannot drop, lower a dedicated slab or pull-out.
Baking is force and leverage. A lower surface lets your body weight help the task. You keep elbows closer to 90 degrees. You can press evenly and avoid tired shoulders. There are many ways to add a lower zone without redesigning the room: an inset stone slab for pastry, a drop-down leaf, or a pull-out board. Keep this zone near flour, mixing tools, and the oven path. Use a cool, hard surface like marble or quartz for rolling.
Options for a bake zone
- Inset ¾” marble slab sitting 1–2″ below main top.
- Pull-out maple board with locking slides and side rails.
- Step-down cabinet bay with separate task light.
- Rolling cart that docks under the island when not in use.
Care note
Seal stone and wood on schedule. Keep flour dust and water away from drawer slides. Use dedicated mats to protect the lower top when not baking.
How wide should walkways be around islands?
Aim for 42 inches of clear space on working sides. Add more if multiple cooks work together or if stools sit in the path. With seating, keep 60 inches total from counter edge to the next obstruction.
Clearances keep kitchens safe and smooth. Forty-two inches fits one cook well and lets the dishwasher open. With two cooks, 48 inches feels better. Behind seated diners, plan enough room for someone to walk past and for the chair to slide out. Corners and appliance doors need swing space. Do not crowd the end of the island near a hallway; bottlenecks frustrate daily life.
Clearance guide
| Location | Minimum clear | Better |
| Work aisle (one cook) | 42″ | 45–48″ |
| Behind stools (seated) | 60″ | 64–72″ |
| Fridge door swing area | 48″ | 54″+ |
Planning tip
Mark these distances on the floor with painter’s tape. Pull in chairs. Open the DW and oven doors. Walk the space as if cooking on a busy night. Adjust before you buy.
Does island height affect appliance placement?
Yes. Height changes how ovens, dishwashers, and outlets align. Plan appliance doors, vent hoods, and faucet arcs around the chosen height so doors clear and cords do not cross seating.
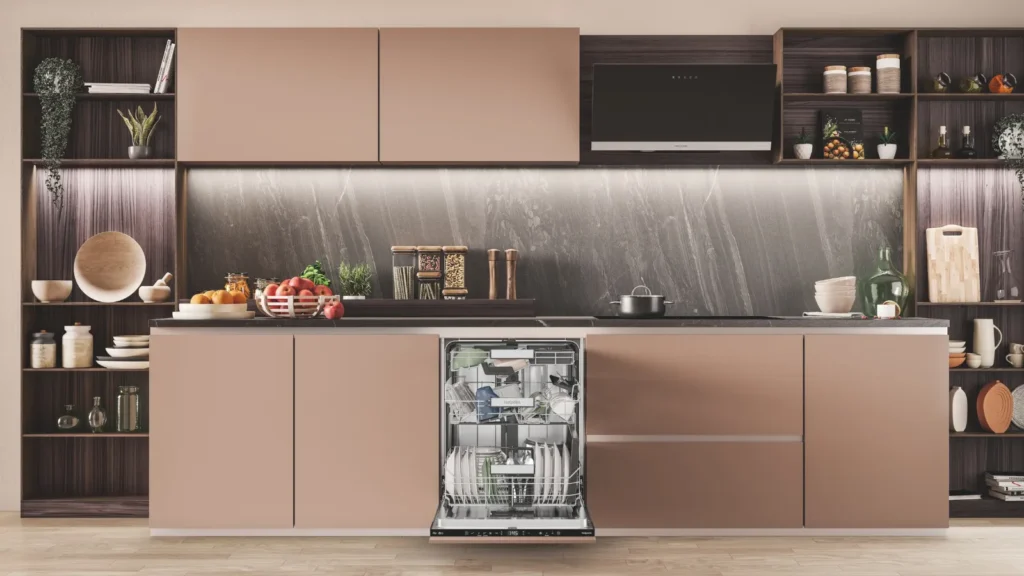
Appliances are rectangles in motion. An extra inch can block a door or hit a knee. Keep the dishwasher on the working side, not the seating side. Leave space for trash pull-outs away from chair legs. If you add a cooktop to the island, check hood height and sightlines. If you add a sink, set outlets and GFCI where cords stay off leg space. Choose a counter thickness that works with appliance trim kits.
Placement notes
- Put the microwave away from primary seating knees.
- Avoid corner collisions by staggering appliance doors.
- Set switches where you can reach them without leaning over hot zones.
- Use pop-up outlets only outside main knee zones.
Small checklist
Confirm appliance specs, door swings, and handle depths after you lock the island height. Adjust fillers and panels to keep reveals even.
Conclusion
Pick tasks first, then fit people, then fit space. Match stools and clearances. Mock up full size. Choose once. Enjoy for years.
FAQ
How deep should a kitchen island overhang be for seating?
Plan 12–14 inches for short sits and 14–16 inches for comfort dining. Support larger overhangs with brackets or legs so knees and shins do not hit.
What is the minimum size for a kitchen island?
A practical island starts near 3 by 5 feet with at least 42 inches of work aisle. With seating, leave about 60 inches behind stools for safe movement.
Can a small kitchen fit an island at all?
Sometimes. If you cannot keep clearances, use a narrow table or mobile cart. Measure swing space for appliances and doors before you decide.
Do I need a cooktop or sink on the island?
Only if tasks demand it. A clean prep island is flexible and quiet. Sinks add plumbing and splash. Cooktops add vent and safety zones near seating.
What countertop edge works best on islands with seating?
A small radius or pencil-round edge protects forearms and resists chips. Sharp square edges look crisp but may wear faster on busy corners.
How many stools fit at my island?
Plan at least 24 inches per stool for tight seating and 30 inches for comfort. Leave extra at corners so people do not bump knees or bags.