Modern kitchens are all about seamless finishes and perfect details—but what if a simple strip of wood could make your entire space look custom-made? That’s the hidden power of scribe molding for kitchen cabinets.
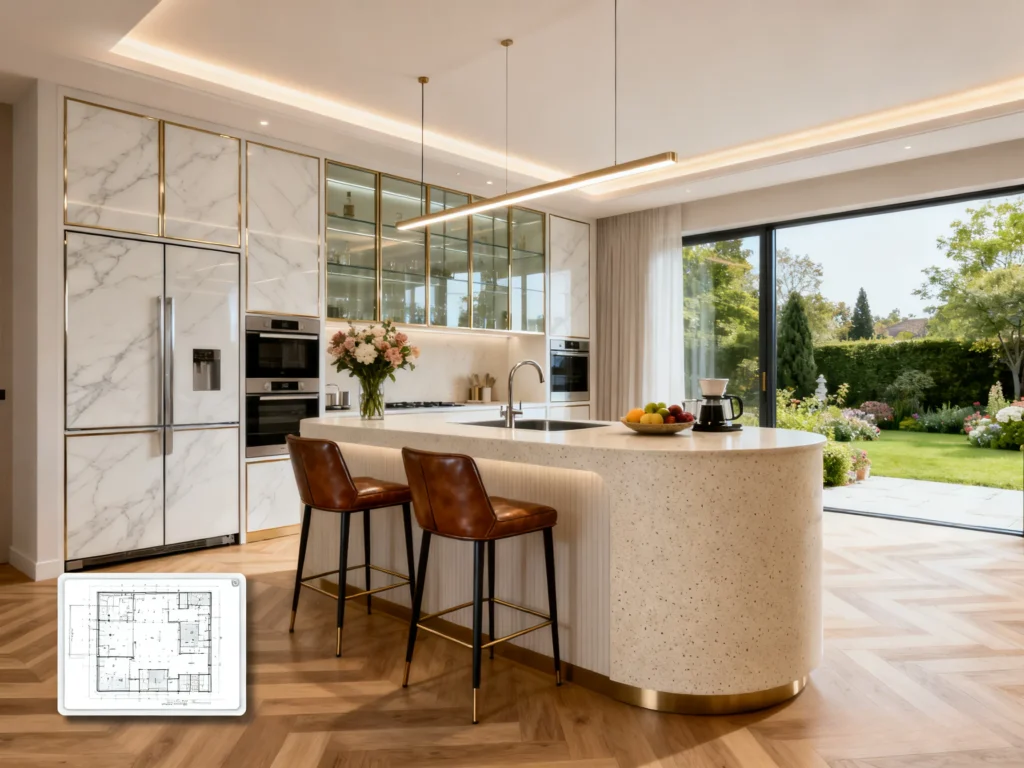
At our one-stop building materials center in Foshan, we help overseas homeowners, designers, and developers bring complete interior projects to life—from kitchen and wardrobe systems to tiles, lighting, flooring, and wall panels. Our in-house design teams provide 3D layout matching, full-style coordination, and export logistics, making global renovations easier and more unified.
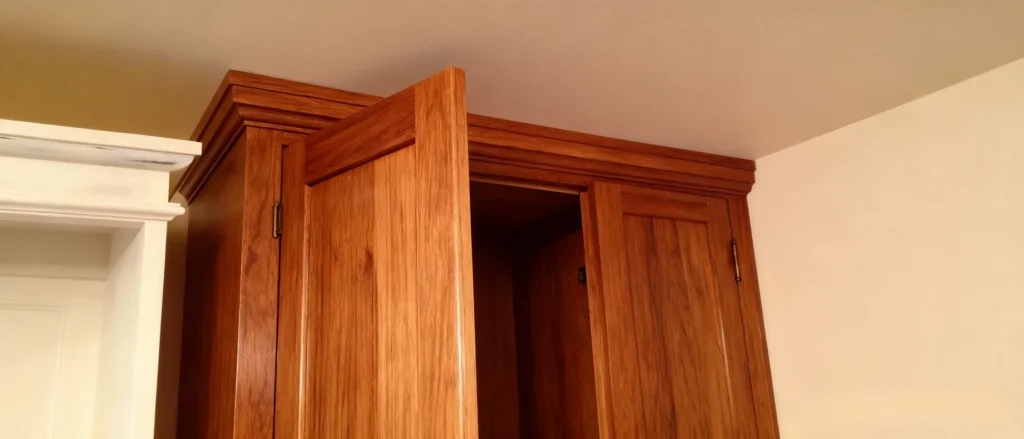
Scribe molding may look like a tiny trim, but it plays a major role in professional cabinetry. It bridges the small gaps between cabinets and walls, ensuring every line looks tight, clean, and intentional.
Now let’s uncover how this understated detail transforms ordinary kitchens into flawless, designer-level spaces.
What Is Scribe Molding in Kitchen Cabinets?
Scribe molding is a thin strip of wood or PVC used to close small gaps between cabinets and uneven walls. It “scribes” or follows the contour of the surface, creating a flush, finished edge that hides imperfections and gives cabinetry a tailored look.
In carpentry, the word scribe comes from the old joinery practice of marking a line to fit one surface to another. You’ll see this concept across woodworking and joinery—both ancient techniques still used in modern cabinetry.
Why It Matters
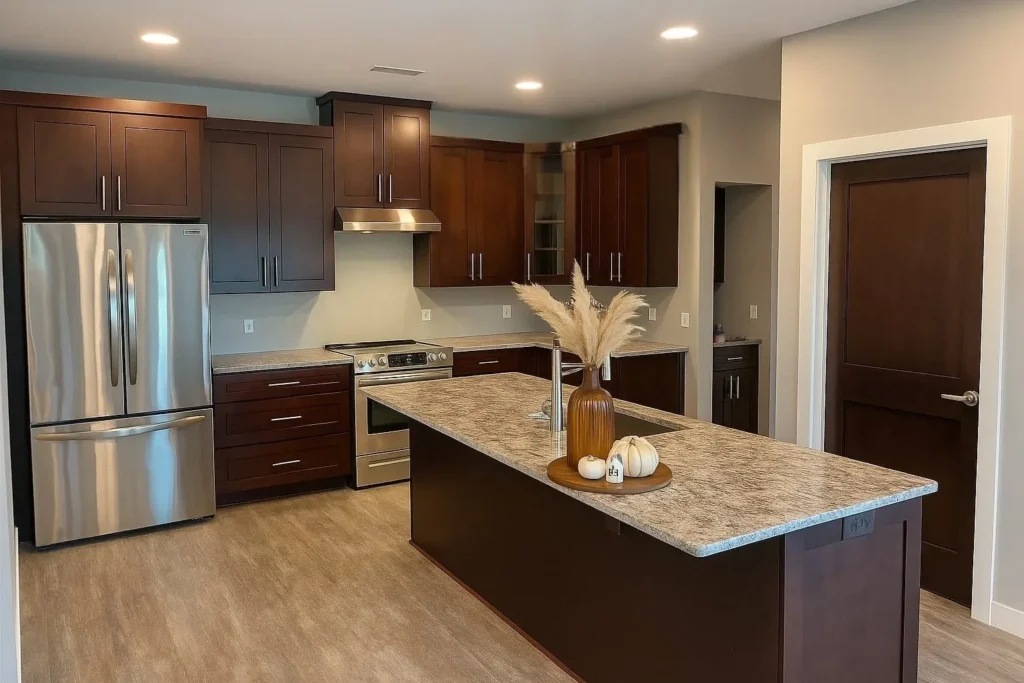
Without scribe molding, even small wall irregularities become visible, breaking the visual flow of your kitchen. With it, your cabinets appear as though they were built exactly for your walls—smooth, intentional, and premium.
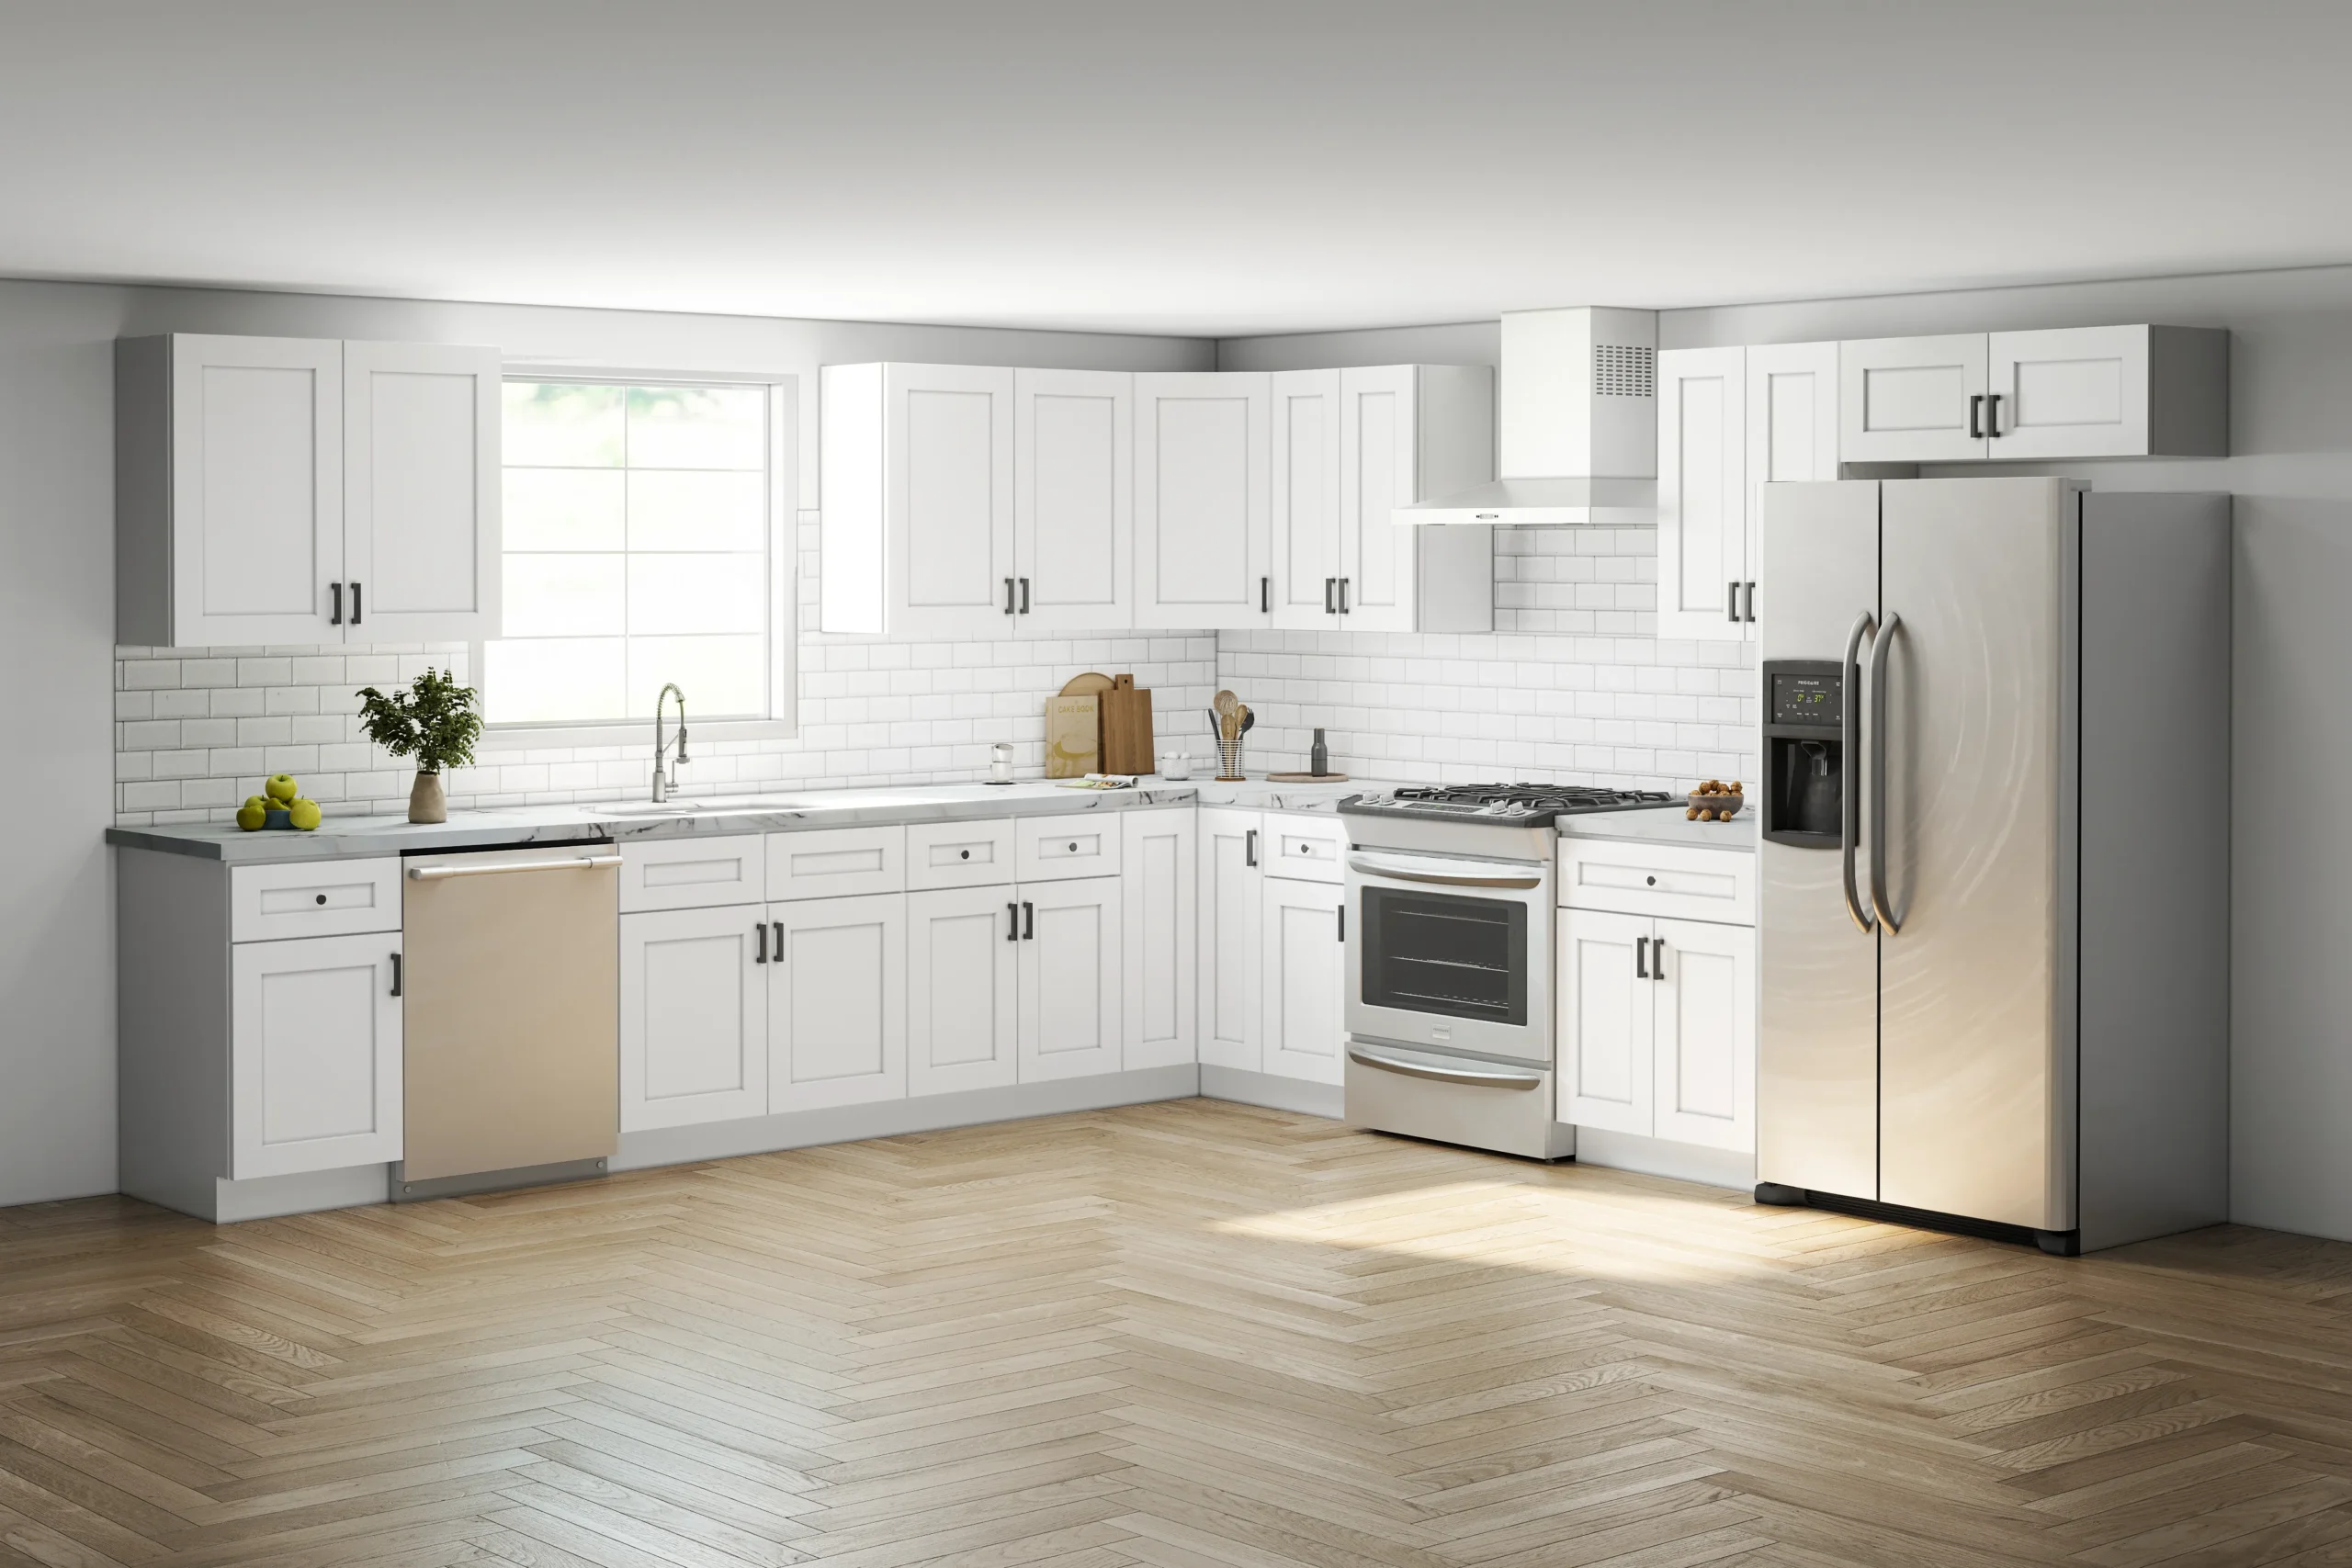
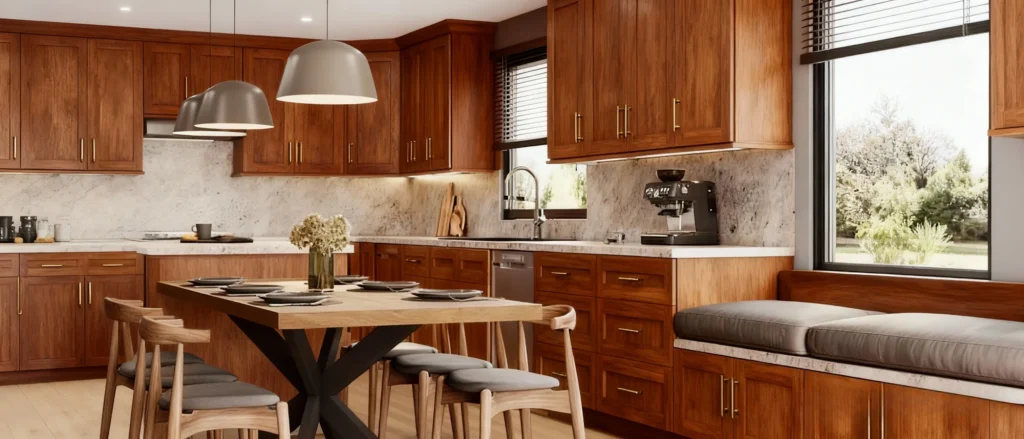
Why Do Modern Kitchens Need Scribe Molding?
Modern kitchen design emphasizes minimalism and precision. Every gap, shadow line, and joint affects how the space feels. Scribe molding bridges those gaps—literally—so that your kitchen achieves that sleek, built-in appearance seen in designer homes.
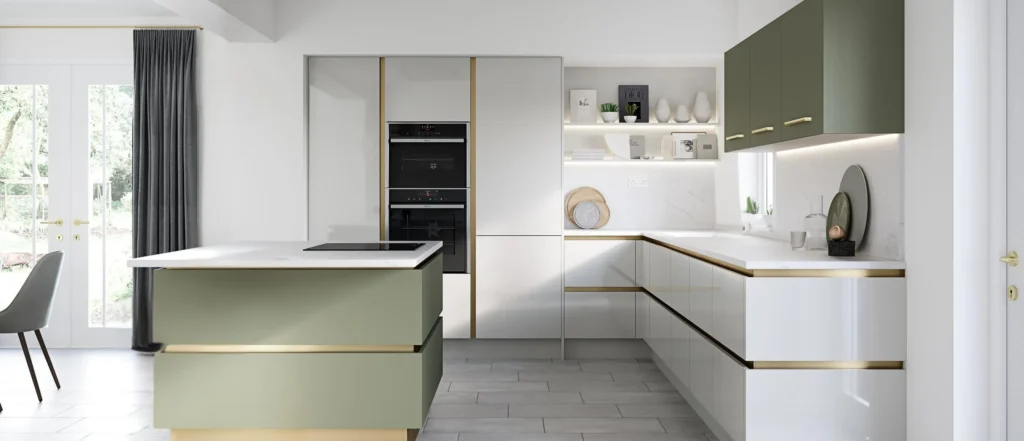
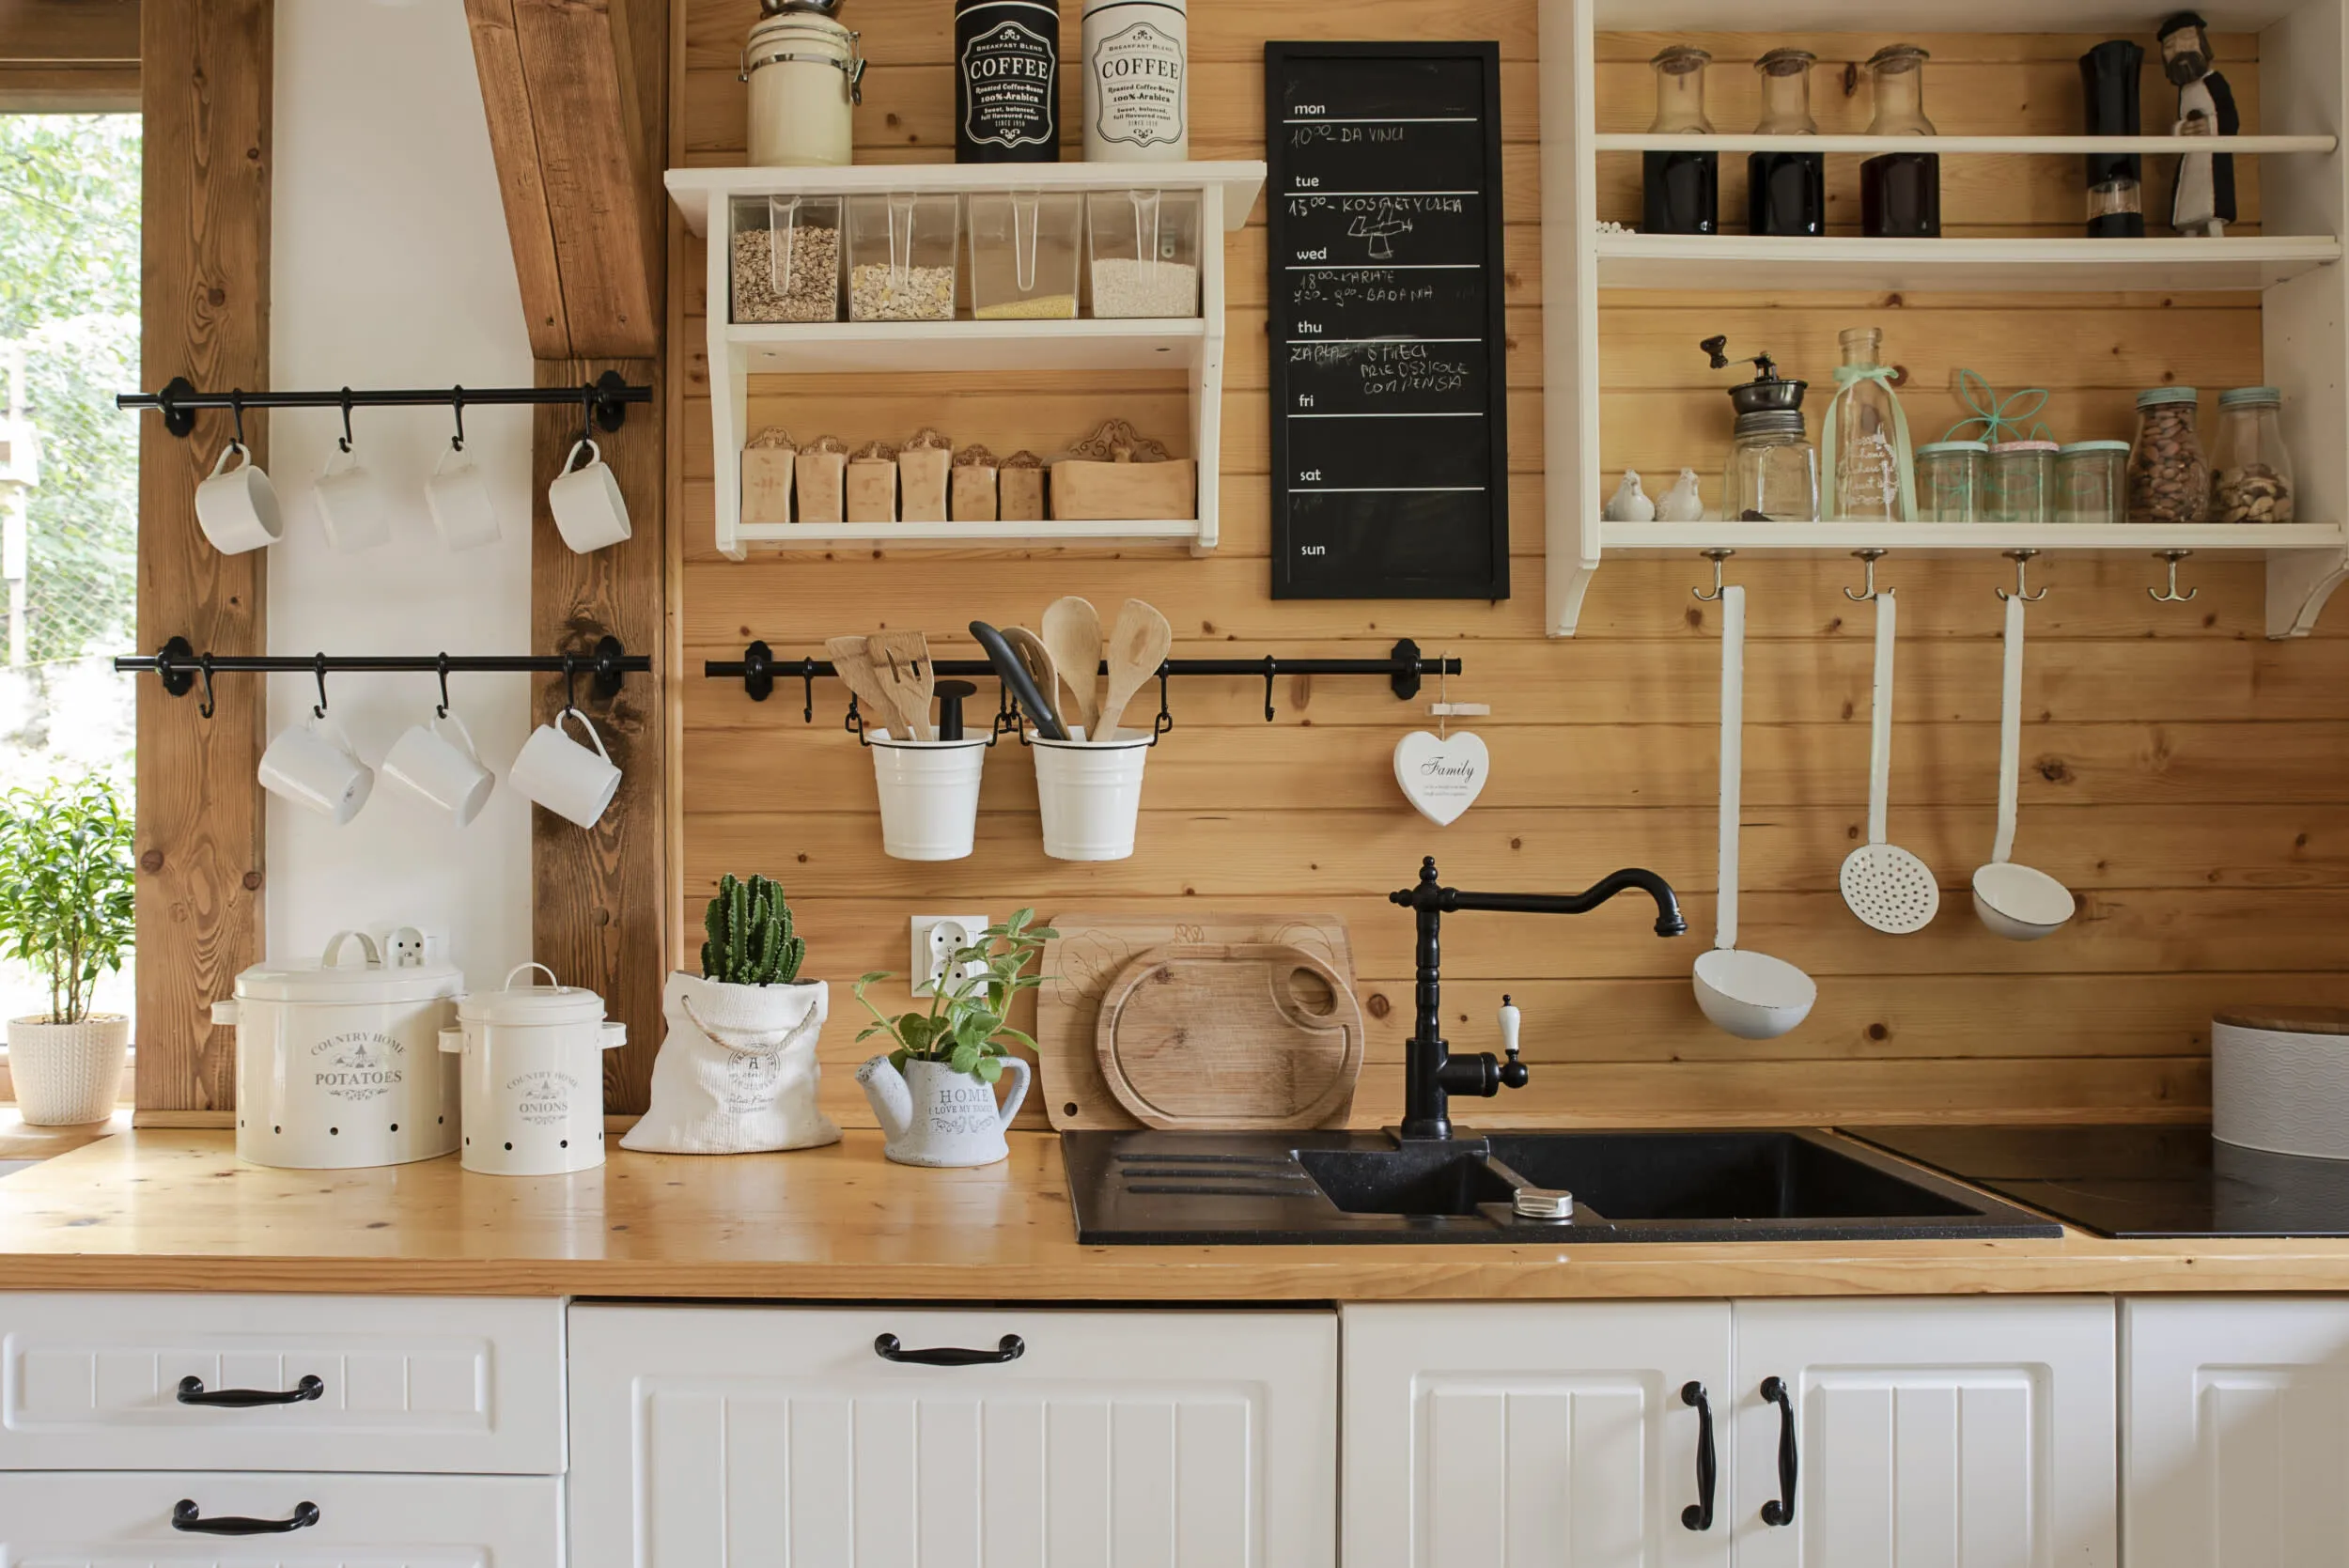
It’s especially important in older homes where walls are rarely square. By adapting to the wall’s contour, scribe molding helps your new cabinets look perfectly aligned without needing to rebuild the structure.
Added Benefit
Beyond aesthetics, it protects cabinets from moisture and dirt that can enter through wall gaps, especially near sinks or tiled backsplashes.
How Does Scribe Molding Hide Cabinet Gaps?
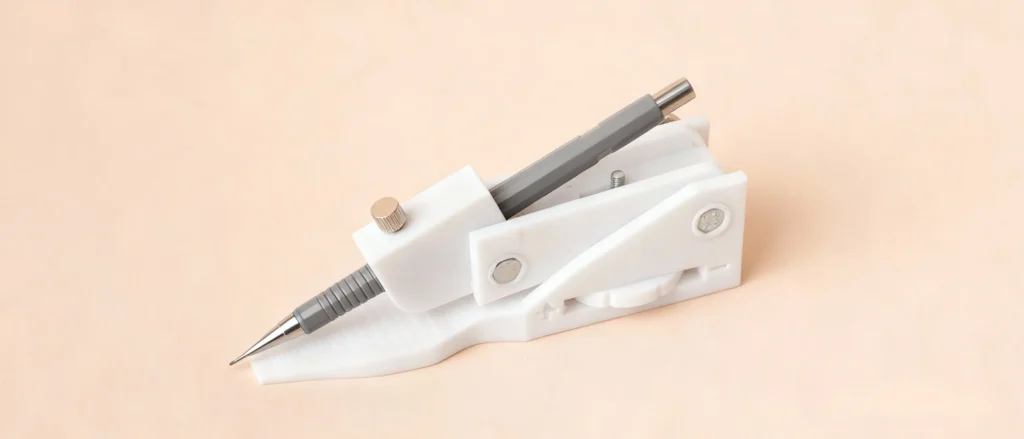
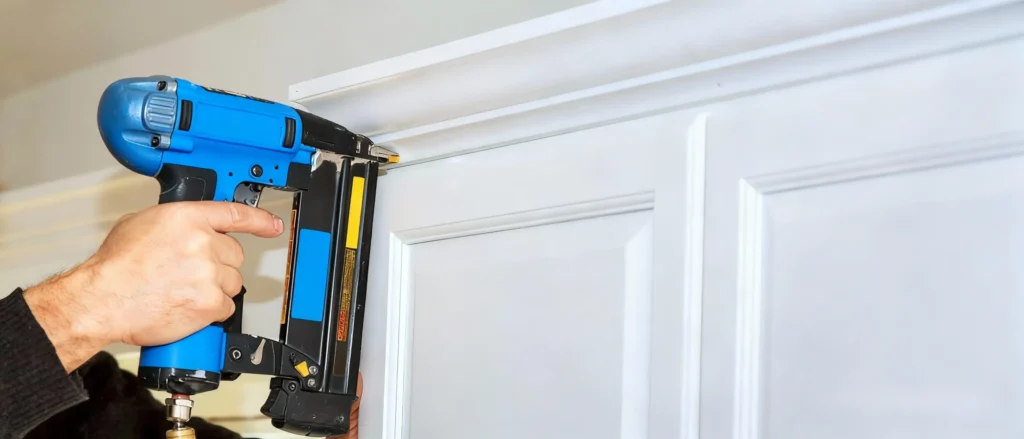
The installation process involves tracing, cutting, and fitting—simple in concept but requiring precision in execution. A small molding piece is trimmed using a coping saw or utility knife to match the wall’s shape, then nailed or glued along the cabinet’s exposed edge.
Step-by-Step Example
| Step | Action | Purpose |
| 1 | Measure the gap | Identify irregularities along the wall |
| 2 | Trace the wall contour | Use a compass or scribing tool |
| 3 | Cut along the traced line | Ensure a precise fit |
| 4 | Attach molding with nails or adhesive | Secure clean alignment |
| 5 | Paint or seal the edge | Match cabinet finish |
This approach creates a nearly invisible joint—what professionals call a shadow line finish, often seen in high-end joinery and cabinetry craftsmanship.
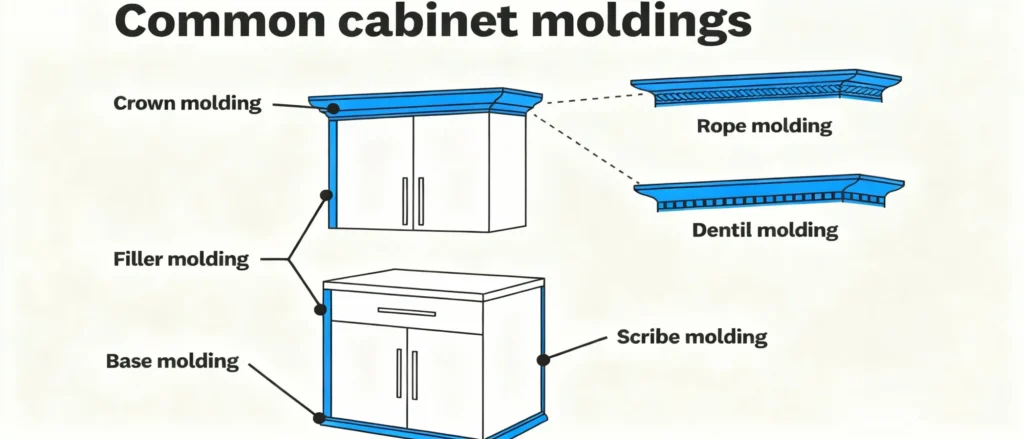
Is Scribe Molding the Same as Crown Molding?
No. Crown molding sits at the top of cabinets, adding decorative flair, while scribe molding hides structural imperfections. Both enhance the look, but they serve very different purposes.
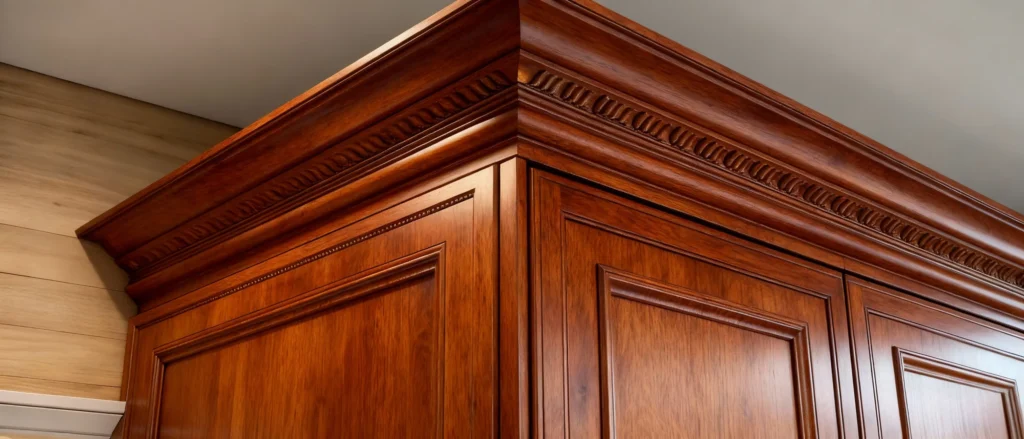
Crown molding draws the eye upward, framing the cabinetry against the ceiling. Scribe molding, however, works quietly at the edges—between cabinets and walls, or near backsplashes—to make the design appear seamless.
When used together, they create a layered and intentional aesthetic: bold on top, refined on the sides.
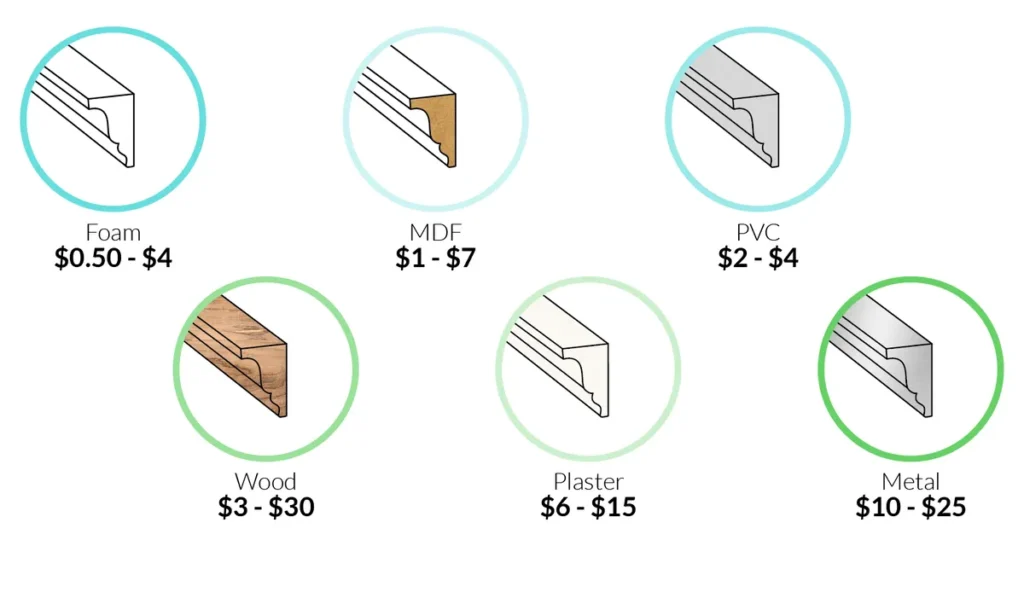
What Materials Are Best for Scribe Molding?
The most common materials are wood, MDF (medium-density fiberboard), and PVC—all common materials used in different types of molding across interior design.
- Wood — Natural look, ideal for staining or painting.
- MDF — Cost-effective, easy to cut, smooth surface.
- PVC — Moisture-resistant and durable, perfect for kitchens or bathrooms.
When choosing, match the finish of your cabinets for consistency. If your cabinets are high-gloss lacquer, pick a painted MDF or PVC. If you have stained oak cabinets, use matching veneer strips for a unified tone.
How Do You Install Scribe Molding Like a Pro?
Professional installers focus on accuracy and finish. The key lies in careful measurement and smooth sanding after installation.
Pro Tip: Use fine-grit sandpaper to blend the molding’s surface into the cabinet face, then paint or caulk the joint. This creates a “no-line” illusion often seen in luxury kitchen designs.
For DIY homeowners, starting with softwood or MDF versions makes cutting easier. Always paint or seal the piece before final installation to avoid uneven finishes.
Can You Paint or Stain Scribe Molding to Match Cabinets?
Yes—and you should.
Pre-finished moldings already match your cabinet color, but raw versions require staining or painting for a unified look.
Use a small brush or spray finish for precision. Match the gloss level (matte, satin, or semi-gloss) of your existing cabinets. If your cabinets use a laminate surface, choose a color-matched paint instead of stain.
A perfect color match helps the molding disappear visually—making the cabinet look factory-built and high-end.
How Much Does Scribe Molding Cost Per Foot?
On average, scribe molding costs $1–$3 per linear foot, depending on material and finish.
Labor can add another $2–$5 per foot if installed by professionals.
| Material | Cost (per ft) | Best Use |
| Wood | $2–$3 | Premium custom kitchens |
| MDF | $1–$2 | Standard projects |
| PVC | $1–$2.5 | Moisture-prone areas |
It’s a small investment for a big visual payoff—transforming a standard cabinet installation into a custom millwork finish.
When Should You Use Scribe Molding vs Filler Strips?
Scribe molding is flexible and thin, perfect for uneven walls. Filler strips are thicker and used for large gaps or design transitions, such as between cabinets and appliances.
Use scribe when your wall variation is less than ¼ inch. For anything wider, go with fillers for better coverage and support. Many designers use both to achieve perfect alignment throughout the room.
Conclusion
Small details define great design. Scribe molding isn’t just trim—it’s what makes kitchens look intentional, precise, and beautifully built.
Final CTA
Every smooth edge tells a story of craftsmanship. Whether you’re renovating a villa or furnishing an apartment, small finishes like scribe molding for kitchen cabinets elevate the whole project.
If you’re planning your next kitchen or full-house customization, send us your floor plan—we’ll help you create a perfectly matched solution from layout to shipment.
Ready to start? Just send us your layout today.