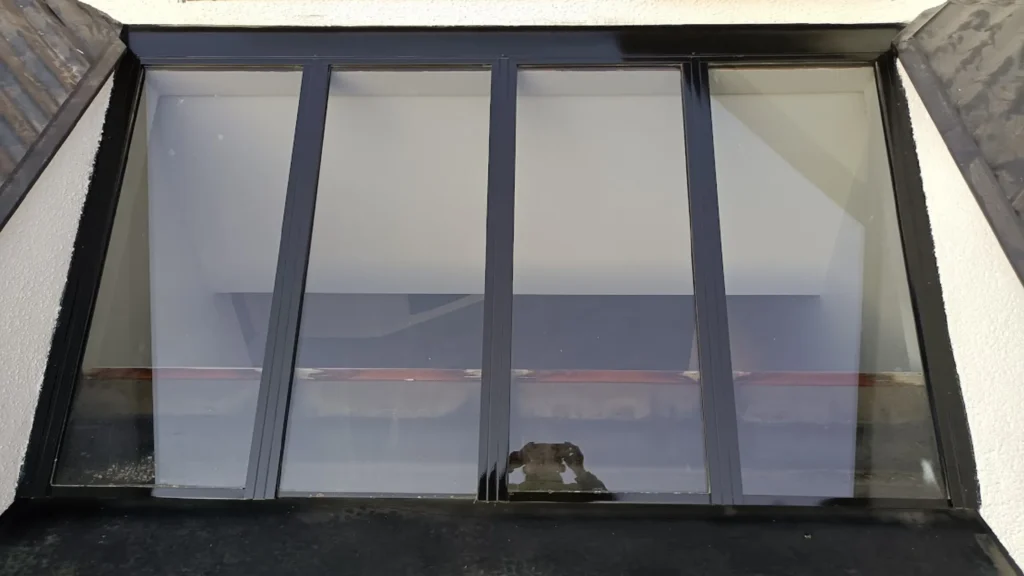
Streaks, chalky white dust, and dark spots make windows look tired. Clean safely with simple tools, correct mixes, and clear steps. Your frames will look new again.
We are a one-stop building-materials partner based in Foshan that serves overseas projects. Our product scope covers kitchens, wardrobes, bathrooms, windows and doors, tiles, lighting, flooring, and wall panels. We work with homeowners, renovation teams, designers, developers, and builders. We also assist with interior and facade 3D design, whole-home style matching, export logistics, and after-sales support. Below is a simple, field-tested playbook you can use today.
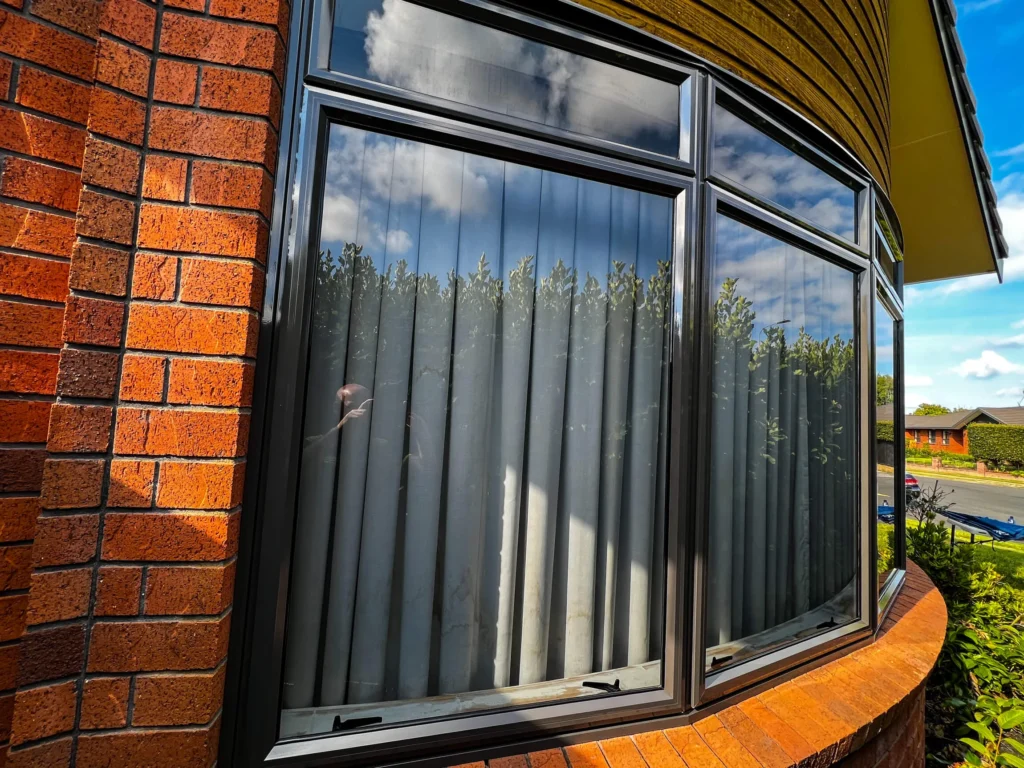
Clean aluminum window frames with mild soap and water first. For oxidation, use gentle acids or polishing methods that do not scratch the finish. For mold, use safe biocides and fix moisture. Rinse well, dry fully, and apply protection to slow future damage.
You will find quick steps, tables, and pro tips you can apply immediately. Read one section, try one window, and repeat across your home or project.
Quick Prep and Safety That Save Time Later
A few minutes of setup prevents stains, scratches, and rework. Protect glass, confirm finish type, and test in a small spot before you scale.
Clean faster when you stage tools and protect nearby surfaces. Tape off porous sills, lay towels, and set a small caddy for mixes. Check the finish (powder-coated, anodized, or bare) so you choose the right method. Gentle wins.
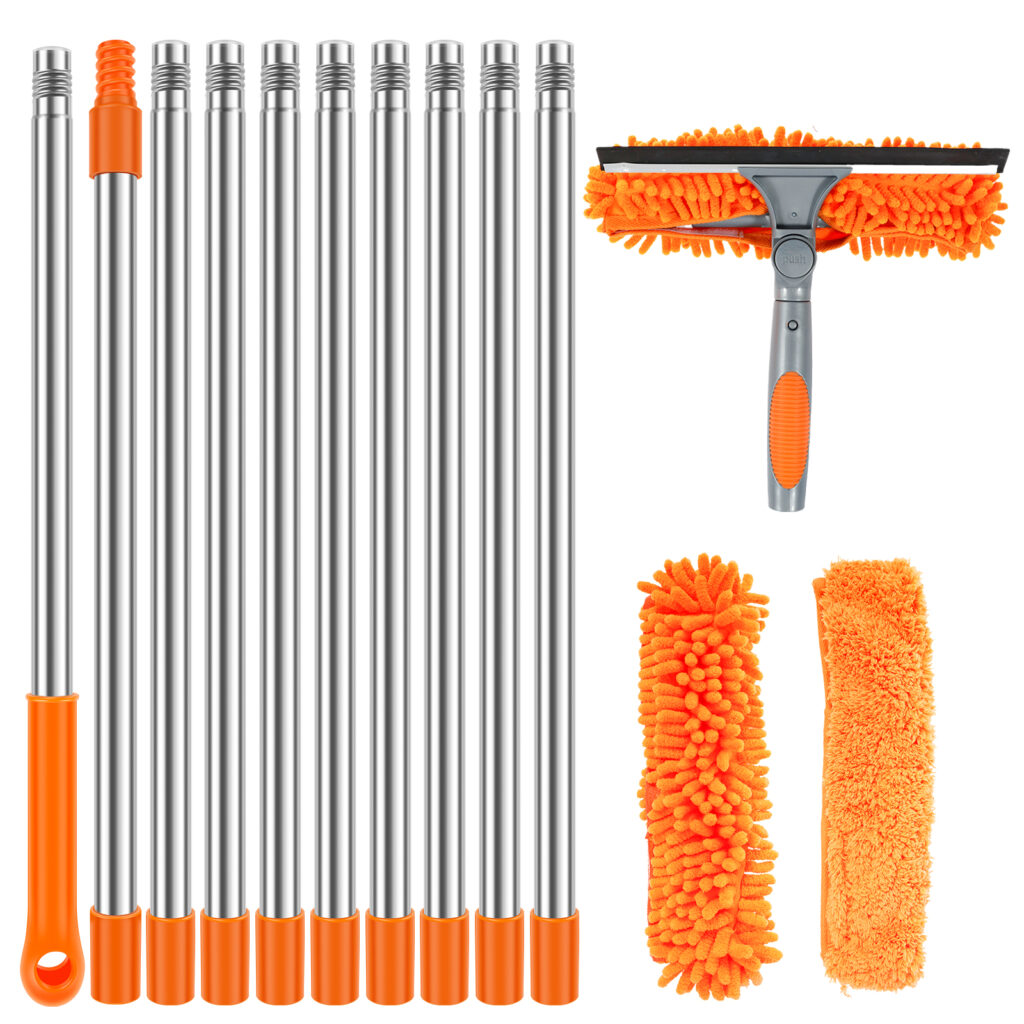
What to set out
| Item | Why it matters | Notes |
| Microfiber cloths | Lift dirt without scratching | Keep separate for wash/rinse/dry |
| Soft brush / old toothbrush | Gets into corners and tracks | Nylon bristles only |
| Mild dish soap + warm water | First pass cleaner | Mix a few drops per liter |
| White vinegar or lemon juice | Helps on oxidation film | Dilute; see ratios below |
| Spray bottle | Even application | Label each mix |
| Painter’s tape + plastic | Protect edges and walls | Mask porous stone sills |
| Nitrile gloves + goggles | Safety for acids/biocides | Ventilate the room |
Small spot test
Pick a hidden corner under the sash. Wipe with your mild mix. If paint or finish softens, stop and switch to milder steps. Rule of thumb: start mild, step up slowly.
Daily and Monthly Cleaning That Actually Works
Simple soap and water do most of the job. Rinse, dry, and lubricate moving parts. This keeps frames clean and stops grit from scratching.
Use a soft cloth or sponge with mild soap. Work top to bottom. Rinse with clean water and dry with microfiber. Open the sash to clear tracks and weep holes so water drains as designed.

Soap first, then special cleaners if needed. This avoids grinding grit into the finish. Drying prevents mineral spots and stops water sitting in corners. A small amount of silicone lubricant on latches and rollers keeps motion smooth. Avoid harsh solvents that can haze powder-coated or anodized finishes (see anodizing for what that protective layer is and why it matters).
Simple routines
Weekly touch-up (dusty sites)
- Dry dust the frame and tracks.
- Quick wipe with a damp microfiber.
- Open the sash; clear weep holes with a cotton swab.
Monthly clean
- Wash: mild soap in warm water.
- Rinse and dry: fresh water, then microfiber.
- Lubricate: tiny drop of silicone on locks/rollers; wipe excess.
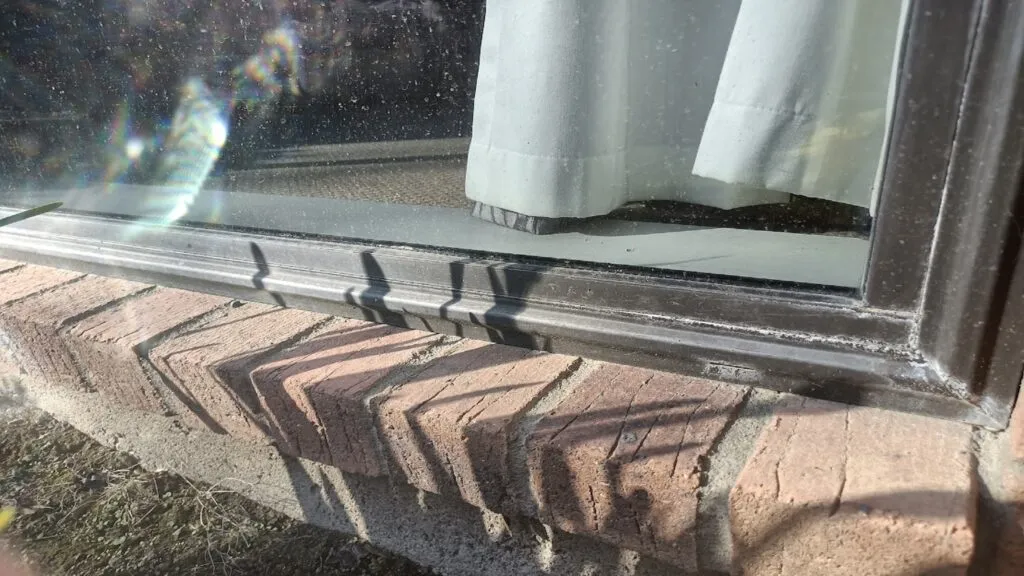
After storms or construction
- Rinse with clean water before washing.
- Check for grit, cement splatter, or paint.
- Do not scrape with metal tools.
Remove Oxidation Without Scratches
The chalky, white film is aluminium oxide, a stable layer that forms on the surface. Clean it gently so you do not scratch or thin the finish. See aluminium oxide for the science behind this film.
Gravity, sun, and pollution speed oxidation on frames near oceans, roads, or construction. You can reduce the haze with mild acid mixes or dedicated polish. Go slow and keep the surface wet. Avoid steel wool; it scratches and can leave rust specks.
Oxidation playbook
Step 1 — Wash first
Remove loose dirt with soap and water. Rinse well. Dry lightly so you can see what remains.
Step 2 — Choose a gentle method
- Vinegar mix: 1 part white vinegar to 4 parts water.
- Lemon + water: 1 part lemon juice to 4 parts water.
- Non-abrasive polish: A product labeled safe for aluminum finishes.
Step 3 — Work small areas
Moisten the surface. Apply mix with microfiber. Rub in straight lines, light pressure. Rinse and check. Repeat if needed.
Step 4 — Optional seal
When dry, a thin coat of neutral wax or a finish-safe protectant can slow new oxidation. Reapply every few months in harsh zones.
Ratio and risk table
| Surface | First try | Step-up option | Avoid |
| Powder-coated | Vinegar 1:4 | Non-abrasive polish | Abrasive pads, strong solvents |
| Anodized | Vinegar 1:4 | Lemon 1:4 or polish | Caustic cleaners, high-pH degreasers |
| Bare aluminum | Vinegar 1:3 | Metal polish (non-abrasive) | Steel wool, sandpaper on finished edges |
Kill and Prevent Mold the Safe Way
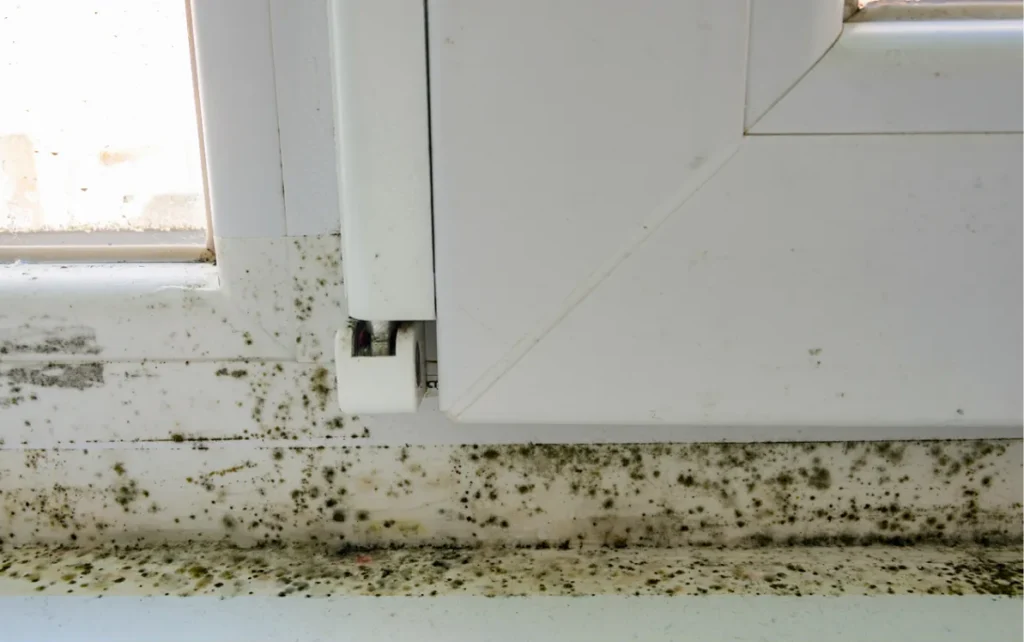
Dark spots along seals and corners signal mold. Kill it, remove stains, then fix moisture with airflow and routine drying. Learn the basics of household mold here: mold.
Mold grows where condensation and dust meet. Bathrooms, kitchens, and rooms with poor ventilation are common hot spots. Clean and dry frames, seals, and tracks. Then cut humidity and improve air exchange.
Mold control steps
Immediate clean
- Spray undiluted white vinegar on the moldy area. Let sit 30 minutes.
- Scrub gently with a soft brush.
- Rinse with clean water; dry fully.
Alternative: Mild detergent + warm water for light films. For stubborn stains on non-porous frame only, a diluted bleach solution can brighten, but ventilate well and keep off surrounding porous materials.
Prevention that works
- Vent rooms after showers and cooking.
- Wipe window condensation in winter mornings.
- Keep tracks clean so water drains through weep holes.
- Aim for indoor humidity around 40–50%. A small dehumidifier helps in tight rooms.
Mold do/don’t table
| Do | Don’t |
| Wear gloves and goggles | Spray strong bleach on porous caulk |
| Ventilate and run fans | Mix ammonia and bleach |
| Rinse and dry edges | Leave moisture trapped in tracks |
| Fix leaks and cold bridges | Ignore recurring condensation |
Care for Powder-Coated, Anodized, and Bare Aluminum
Not all frames are the same. Identify finish first. Powder-coated surfaces act like painted metal. Anodized aluminum has a controlled oxide layer. Bare aluminum needs the most care.
Knowing the finish avoids damage. Powder-coated frames hate harsh solvents. Anodized frames dislike caustic cleaners. Bare aluminum can stain or pit faster near salt air. Choose the right cleaner and pressure.

Quick ID and care
Powder-coated
- Look: Even color, satin to matte.
- Care: Mild soap; vinegar 1:4 for haze; no abrasives.
- Tip: Rinse more; residues can dull sheen.
Anodized
- Look: Metallic sheen, visible grain.
- Care: Mild soap; gentle acid mix; avoid high-pH degreasers.
- Tip: Keep wet while cleaning; dry quickly to avoid water marks.
Bare aluminum
- Look: Raw metal tone, often brushed.
- Care: Soap; mild acid; finish-safe metal polish; seal after.
- Tip: Protect near mortar, cement, or salt spray.
Finish-specific risk matrix
| Cleaner | Powder-coated | Anodized | Bare |
| Mild soap | ✅ | ✅ | ✅ |
| Vinegar 1:4 | ✅ | ✅ | ✅ |
| Strong solvent | ❌ | ❌ | ⚠️ (spot test only) |
| Abrasive pad | ❌ | ❌ | ⚠️ (raw areas only) |
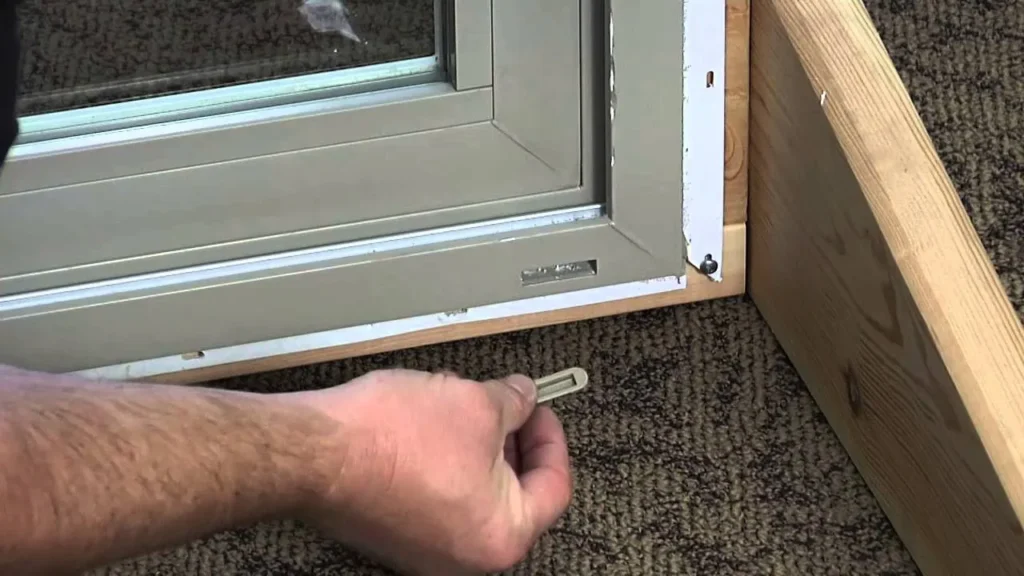
Tracks, Seals, and Hardware That Keep Windows Working
Frames look good when what you cannot see works well. Tracks, weep holes, seals, and hardware keep water out and motion smooth. Clean here and the whole unit lasts longer.
Open sashes and vacuum tracks first. Flush with warm water. Clear weep holes so rain exits outdoors. Clean gaskets with mild soap; dry fully. Lubricate locks and rollers sparingly with silicone.
Track and seal routine
Track clean
- Vacuum dry grit.
- Wash with soap and a soft brush.
- Rinse; wick out water with paper towels.
Weep holes
- Locate small drain slits.
- Clear with cotton swab or plastic pick.
- Test with a syringe of water.
Seals and gaskets
- Wipe with mild soap.
- Rinse and dry; leave no film.
- Replace cracked or shrunken seals.
Light lube guide
| Part | Product | How |
| Locks/latches | Silicone spray | Tiny burst on cloth, wipe metal only |
| Rollers | Silicone or dry PTFE | One drop at axle, roll to spread |
| Hinges | Light machine oil | One drop per knuckle; wipe excess |
When and How to Restore or Repaint
If frames are scratched, blotchy, or chalky beyond cleaning, plan a light restoration. Mask carefully, sand gently only where safe, prime if needed, and repaint or re-seal.
Do not rush. A careful restoration adds years of life. Keep dust out of tracks and seals. Use products rated for the finish and for outdoor use if exposed.
Restoration roadmap
Assess first
- Is the finish powder-coat, anodized dye, or bare?
- Are there deep scratches, corrosion spots, or flaking paint?
- Are seals sound? Replace worn gaskets before painting.
Prep right
- Clean thoroughly; dry completely.
- Mask glass, seals, and walls.
- Lightly scuff only areas you will repaint (avoid edges that show wear).
Prime and paint
- Use primer compatible with aluminum.
- Spray thin coats; allow full flash time.
- Finish with thin, even color coats.
Cure and protect
- Let paint cure as specified.
- Re-fit hardware.
- Add a light protective wax on repainted, fully cured surfaces in dry interiors.
Decision table
| Condition | Action |
| Minor haze only | Clean + protectant |
| Small scratches | Touch-up pen or spot repaint |
| Widespread chalking | Clean, mask, prime, repaint |
| Pitting/corrosion | Spot repair; consider pro refinishing |
Conclusion
Start mild, rinse and dry well, then step up carefully for oxidation or mold. Keep tracks clear, seals healthy, and hardware light-lubed. A steady routine keeps frames clean and moving for years.
Share Your Plan, Get Ideas
Send a quick sketch and two or three photos. We can suggest safe mixes, set a care schedule for your climate, and map easy upgrades for seals and tracks.