Mis-matched stones break flow and add cost. You need one visual language, clear cutting rules, and smooth transitions that feel designed—not improvised.
We are George Mulanbuild, a one-stop building materials supplier with export experience and a Foshan base serving overseas clients. We coordinate kitchens, wardrobes, bathrooms, windows and doors, tiles, lighting, flooring, and wall panels for homeowners, renovators, designers, developers, and builders. Our team supports interior and facade 3D design, whole-home style matching, export logistics, and after-sales—focused on actions and deliverables.
Start with your floor plan and sections. Mark the longest sightlines and touchpoints, decide where one stone should stay continuous, and where a calmer partner should take over for function. Lock thickness, edges, nosings, and thresholds early so every junction reads intentional. Then issue drawings and stone schedules that number pieces and cuts to lower waste and speed site work.
Map the Long Lines First
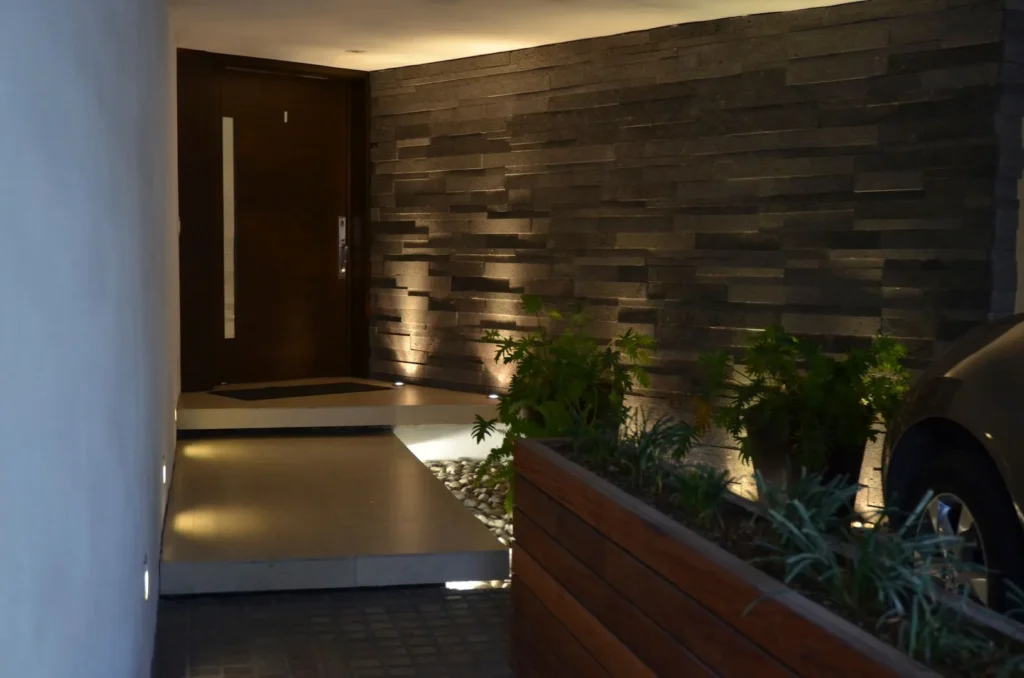
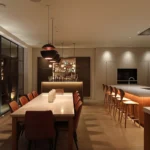
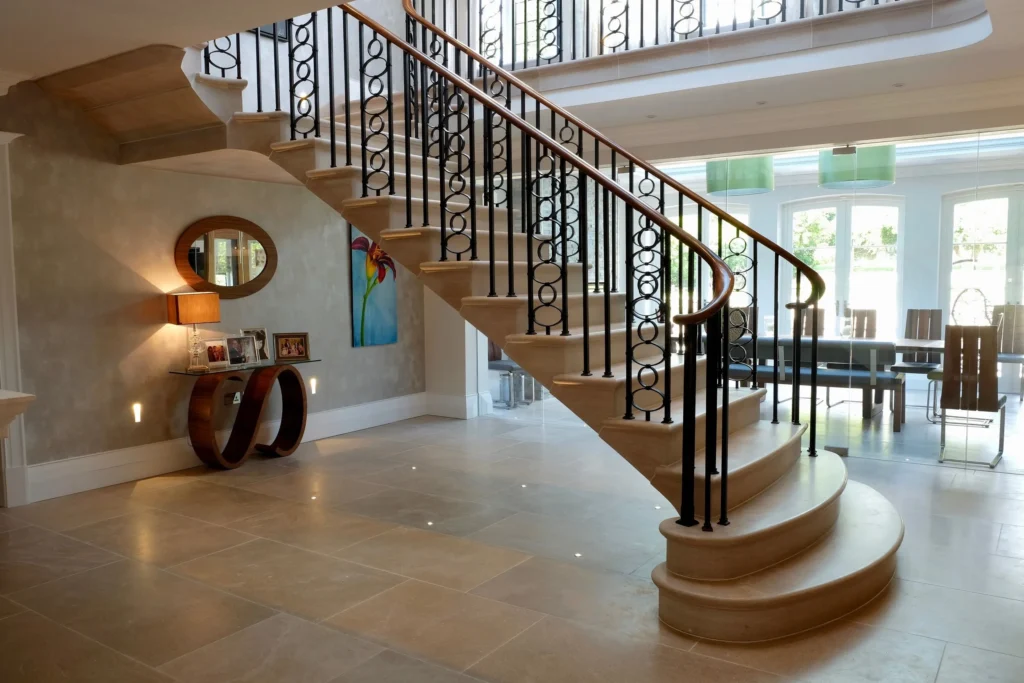
You see stone most along corridors, stair flights, double-height voids, and kitchen-dining runs. Keep one primary stone on those routes; switch only at real breaks such as door lines, level changes, or wet zones. Place joints where they hide under door leaves, at riser lines, or under cabinet kicks. Align vein direction so movement flows in one clear path. In villas, the entry lobby and main stair set the tone; in apartments, the living-kitchen axis is the daily focus. Fix these lines first, or you will fight patches later. Output: a marked plan and section that installers can follow without guesswork.
Quick cues
| Zone | What holds continuity | Where to break |
| Main corridor | Single floor stone | Door lines / level shifts |
| Double-height space | Floor + stair treads | At landing turns |
| Kitchen→Dining | One field stone | At island line if needed |
One Stone or Two? Simple Rules for Continuity and Change
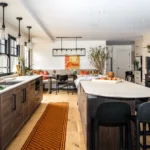
Continuity brings calm; contrast solves function. Run one stone across floors, landings, and stairs along your main route. Switch to a partner stone only where cleaning, slip resistance, or acoustic control demands it. Keep undertone and value close so the story reads as one. Upper corridors often look best with a quieter field that echoes the lobby’s base tone. Kitchen floors see heat and spills; choose a practical field there and move pattern to verticals. Countertops should tie back, not copy. Use related tones so rooms feel designed, not “matched by force.”
Continuity vs change
| Need | Recommendation |
| Speed of the eye | Keep one stone on long routes |
| Wet or heavy-wear area | Switch to partner stone with similar undertone/value |
| Small dark hall | Lighter, calmer stone to open space |
| Feature wall | Reserve bold movement for vertical surfaces |
Countertops That Tie Back Without Overmatching
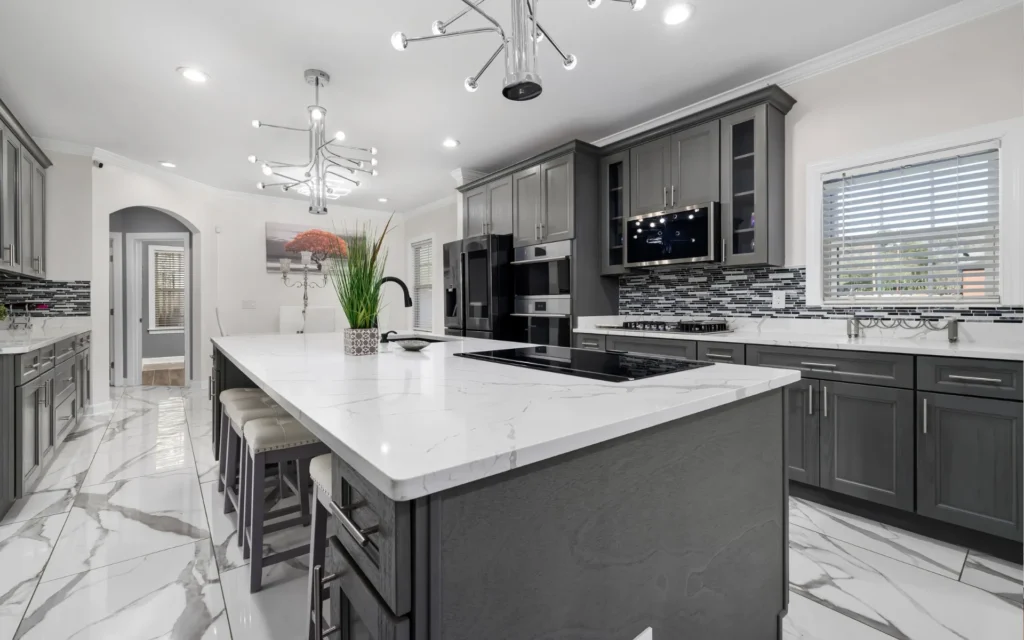
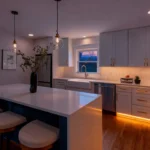
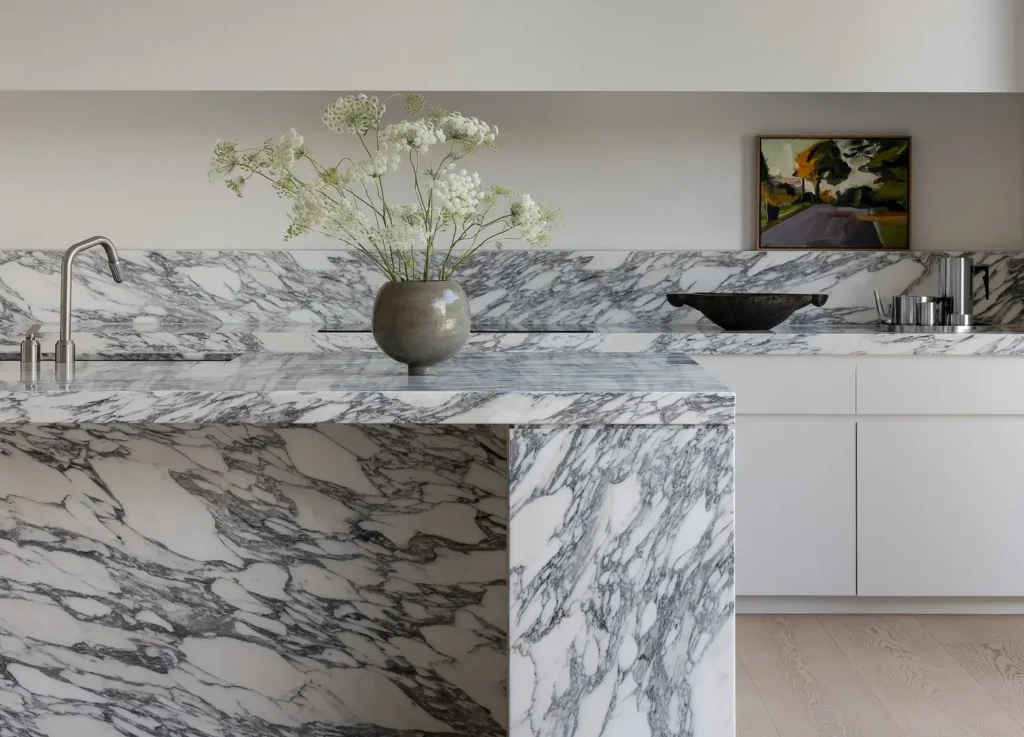
Counters are touch surfaces first. Choose quartz tones that pull a mid-color from your floor or wall stone. Keep veining modest on worktops and save bold movement for panels. In small apartments, quiet counters help rooms feel larger; in big villas, slightly darker counters can ground long islands. Check edge build-ups so counters meet cabinet reveals cleanly, hold overhangs consistent, and confirm appliance clearances. If you want natural stone tops, plan sealing and pick patterns with less open pores. For material background, see marble and engineered stone.
Worktop pointers
| Situation | Better choice | Why |
| Busy family kitchen | Gentle-vein quartz | Easy care, ties tone |
| Statement wall nearby | Quiet counter | Avoid pattern fights |
| Compact apartment | Light, matte face | Brighter, hides prints |
Thickness, Edges, Nosings, Skirtings, and Thresholds
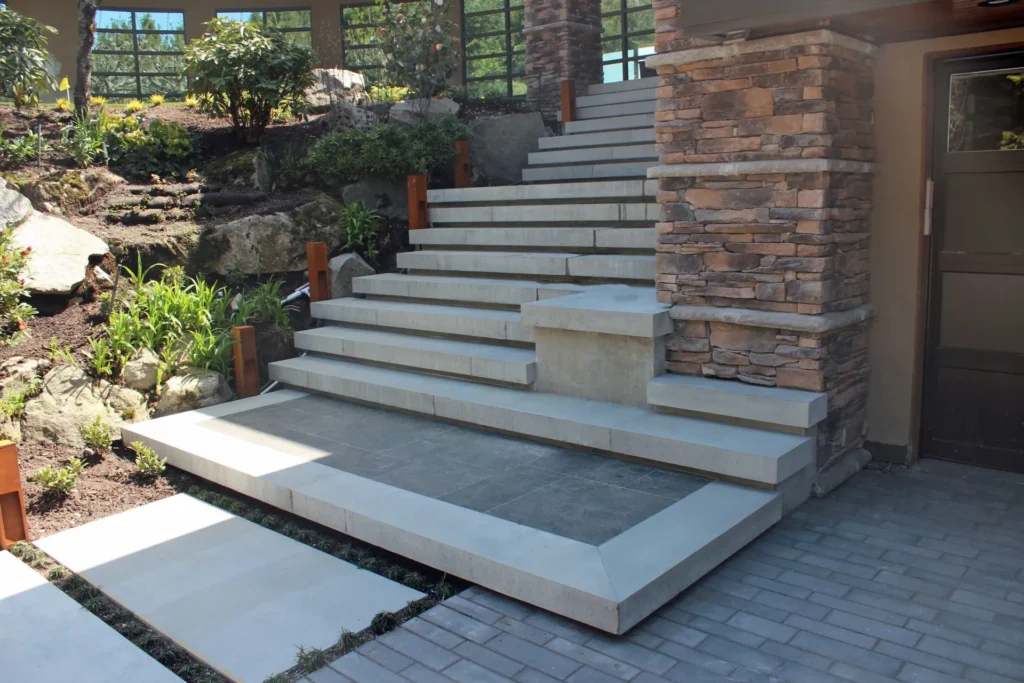
Edge language is your punctuation. Confirm slab thicknesses per location, then pick one or two edge profiles for the whole project. Eased edges resist chips and read modern; stair nosings should be rounded or eased for safety and consistent rise. Run 60–100 mm skirtings in the same floor stone where impact risk is high; elsewhere, use a clean base and keep stone only where it protects walls. Sills need a slight fall toward the required drain path. Hide height changes under door leaves or at fine metal trims. In wet areas, step down subtly or mark the change with a neat profile. These small rules protect the big idea.
Drawings, Cutting Sheets, Numbering, and Install Sequencing
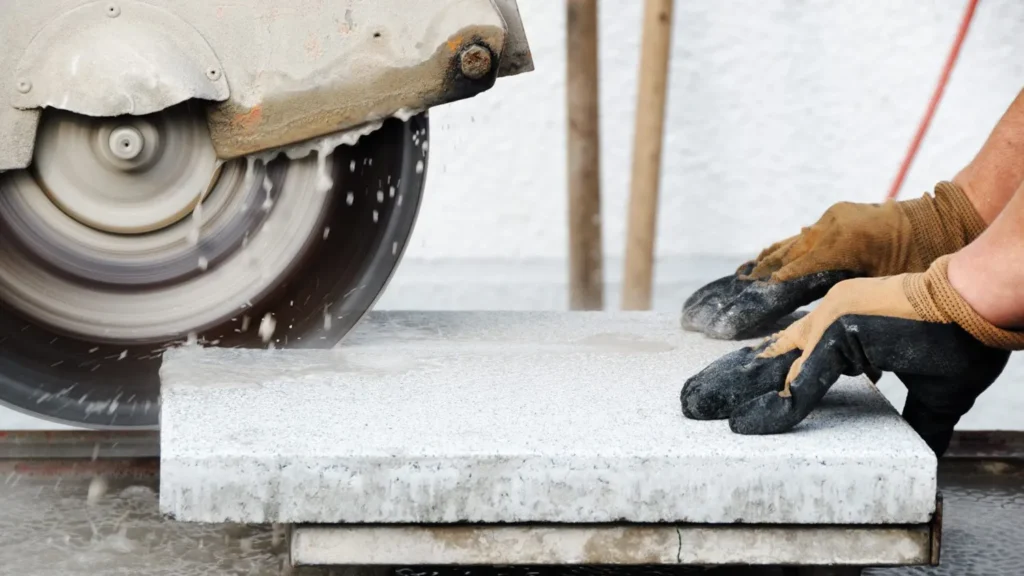
Good drawings save slabs; numbering saves hours. We prepare plans, elevations, and stone schedules that show piece sizes, joint lines, vein directions, and edge types. Cutting sheets map slabs to piece codes to control yield and pattern flow. Labels go on both pieces and crates so site teams can stage by room. The install sequence tells crews where to start, how to protect finished edges, and when to remove protection for checks. Coordinate with other trades early: cabinet kicks, door swings, glass anchors, drains. Clear documents reduce re-cuts, clarify scope, and keep your visual language intact.
Actions → Deliverables
| Action | Deliverable |
| Send floor plan | Marked zones + continuity rules |
| Approve directions | Plans/elevations with joints and edges |
| Lock stones | Schedule with codes and piece list |
| Confirm yields | Cutting sheets + crate order |
| Site readiness | Install sequence + protection notes |
Villa vs Apartment: Access, Logistics, and Care
【Two photos: crate in villa driveway vs crate in apartment service elevator | Google Image: “stone crates elevator access”】
Villas allow large formats and longer runs because access is easy. Use bigger panels on sightlines and reduce joints. Apartments reward modular logic. Measure elevator sizes and corridor turns; size treads and panels to pass with protection. Choose satin finishes that hide smudges; select higher-grip surfaces in kitchens and entries. Label crates by room. Provide a short care note so teams know how to clean and protect edges after install. In coastal villas, prefer stones and metals that tolerate salt air and plan a sensible sealing routine. In rentals, choose harder stones or quartz for tops to reduce replacements.
RFQ: What to Send and What You Receive
Send this to get started
- Floor plan (PDF/JPG/DWG).
- Optional: sections/elevations, stone references, slip resistance targets, preferred edge, stair photos, destination city/port.
What you receive
- Marked plans/sections with zones and joint rules.
- Elevations with piece sizes, edges, nosings, thresholds.
- Stone schedule with codes by room and position.
- Cutting sheets with slab yields and labels.
- Packing plan with crate order and install sequence.
For material context: marble basics and engineered stone properties.
Conclusion
Lead with sightlines. Keep one stone on long routes and change only for function. Fix edges, nosings, sills, and thresholds on drawings. Number pieces, map slabs, and stage crates by room. The result is calm visuals, lower waste, and clean installs.
Share Your Plan, Get Ideas
Upload your floor plan and we will map zones, select matching stones, and prepare stone schedules and cutting sheets you can build from. Want to get started? Just send us your floor plan.