Small gaps change everything. Rooms look bigger or smaller. Floors clean easier or harder. Bad joints crack. Good joints last. This guide keeps your choice simple and safe.
Choose grout joint size by tile type, edge quality, room use, and movement needs. Start with the maker’s minimum. Adjust for lippage risk, moisture, and style. Use the right spacer and grout type. Seal and maintain on schedule for long life.
You want clear steps, not guesswork. Below, each question gets a fast answer first. Then we go deeper with simple rules, tables, and checks you can follow on site.
What size grout line should I use?
Tiny gaps look sleek, but they leave little room for error. Wider gaps hide small size changes and help control lippage. Pick a width that suits both tile and room.
A good joint balances look and function. Use the smallest size the tile allows while keeping lines straight and surfaces flush. Match the joint to tile type, edge finish, and foot traffic. Do not go below the maker’s minimum, or you risk chipping and cracks.

Quick starting points
| Tile type / situation | Typical joint to start with |
| Subway ceramic with cushioned edges | 1/8″–3/16″ |
| Rectified porcelain (even edges) | 1/16″–1/8″ |
| Large-format (≥12×24) | 1/8″–3/16″ |
| Handmade or rustic edges | 3/16″–1/4″ |
| Natural stone (square, well-calibrated) | 1/16″–1/8″ |
| Outdoor freeze/thaw | 3/16″ or more, per conditions |
Practical rules
Check calibration. Stack ten tiles on edge. If sizes vary, use a wider joint.
Measure space. Tight kitchens and baths look calmer with thinner lines.
Match pattern. Busy patterns need quieter joints; plain grids can carry a bit more width.
Is 1/16 or 1/8 grout line better?
Both work. 1/16″ looks sleek but demands flat walls, even tiles, and careful cuts. 1/8″ is more forgiving. It hides tiny size changes and gives grout more bite.
Pick 1/16″ for flat, rectified tiles and careful work. Pick 1/8″ for typical homes, slight tile variance, and faster install. Let the tile edge and the room’s tolerance for movement guide the final call.

Pros and cons at a glance
| Size | Pros | Cons | Best when |
| 1/16″ | Sleek, modern, easy to clean | Unforgiving, shows any lippage | Rectified porcelain, flat substrate |
| 1/8″ | Forgiving, better bite, hides variance | Slightly busier look | Most residential floors/walls |
Field checks
- Lay four tiles dry on the floor with spacers. Step back five feet. If you already see corner height changes, choose 1/8″.
- Run your hand across seams. If edges snag your skin, go wider or level the substrate first.
Do large tiles need wider grout joints?
Often yes. Big tiles cover more area. Small height mistakes show more. A slightly wider joint helps your eye read a flat plane and gives room to tune lippage.
Use at least 1/8″ for most 12×24 tiles. Move to 3/16″ if tiles vary in size or the floor is not very flat. The final width depends on edge quality and pattern offset.

Why size matters on big tiles
Leverage. A tiny hump under a long tile causes a visible lip.
Shadow. Long edges cast shadows if heights differ. Wider joints soften that line.
Movement. Big pieces move more with temperature and load. Joints help share stress.
Simple test and table
| Condition | Suggested joint |
| Flat floor, rectified tile | 1/8″ |
| Slight variance in tile size | 3/16″ |
| 33% offset (brick pattern) | 1/8″–3/16″ plus leveling system |
| Natural stone large-format | 1/8″ and higher, confirm with installer |
Add a tile leveling system when you push for thinner joints on large tiles. It controls lippage during cure.
What grout line for rectified tile?
Rectified tiles have machine-cut edges. They allow narrower joints because sizes match closely. This does not mean “no grout.” You still need a joint for movement and to protect edges.
Start at 1/16″ with rectified porcelain on very flat surfaces. Go to 1/8″ if walls or floors are wavy, or if the pattern includes a brick offset that reveals height changes.

Key points
- Edges are sharp. No cushion to hide chips. The joint protects corners.
- Substrate rules. Narrow joints only work on flat, plumb surfaces.
- Light shows flaws. Under-cabinet LEDs make shadows. Test with site lighting before you commit.
Rectified vs non-rectified
| Feature | Rectified | Non-rectified |
| Edge | Sharp, square | Slightly rounded or cushioned |
| Size variance | Low | Medium |
| Typical joint | 1/16″–1/8″ | 1/8″–3/16″ |
| Risk | Chipping if too tight | Busier look if too wide |
What grout line for subway tile?
Classic 3×6 subway tile often has cushioned edges. Joints around 1/8″ look balanced and hide small waves. If the tile is very consistent and has straight edges, you can go thinner.
Choose 1/8″ for a timeless look. Go 1/16″ for a modern, tight grid with rectified or very clean edges. Increase to 3/16″ for handmade or rustic subway tiles.

Style notes
- Contrast grout makes the pattern pop.
- Color-matched grout makes a calm field.
- Bevelled subway tiles often want a slightly wider joint so bevels read evenly.
Fast planning table
| Subway tile type | Joint to consider |
| Cushioned, glossy ceramic | 1/8″ |
| Rectified, matte | 1/16″–1/8″ |
| Handmade look / rustic | 3/16″ |
Dry-lay a few rows with spacers and step back. Check how light hits bevels and edges before you lock the size.
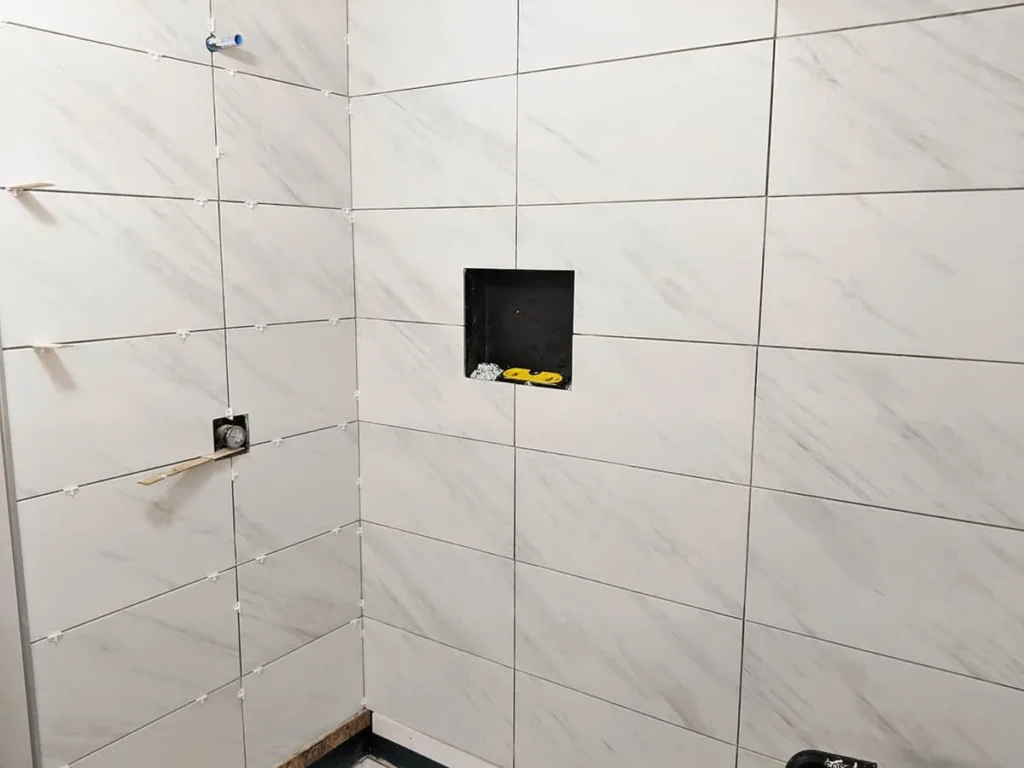
What grout line for shower walls?
Showers see water, heat, and daily cleaning. Joints must manage movement and resist mold. Too thin and cleaning becomes fussy. Too wide and scrubbing takes longer.
Use 1/16″–1/8″ on rectified porcelain and most smooth wall tiles. Use 1/8″–3/16″ for handmade tiles or where walls are not perfectly plumb. Caulk all plane changes with a flexible sealant.
Shower-specific checks
- Slope and plumb. Thin joints need straight studs and true walls.
- Soap and hard water. Slightly wider joints are easier to scrub with a brush.
- Ventilation. Good exhaust keeps grout drier and cleaner.
Cleaning and upkeep
Use a pH-neutral cleaner weekly. Squeegee glass and walls after each use. Seal cement grout once cured if required. Do not seal epoxy grout.
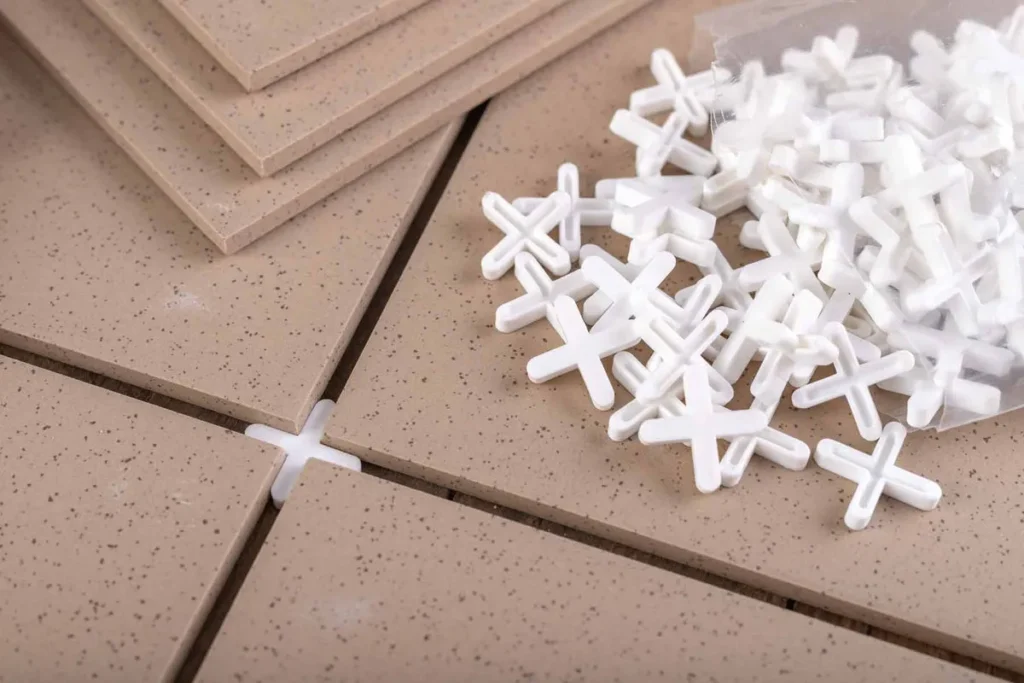
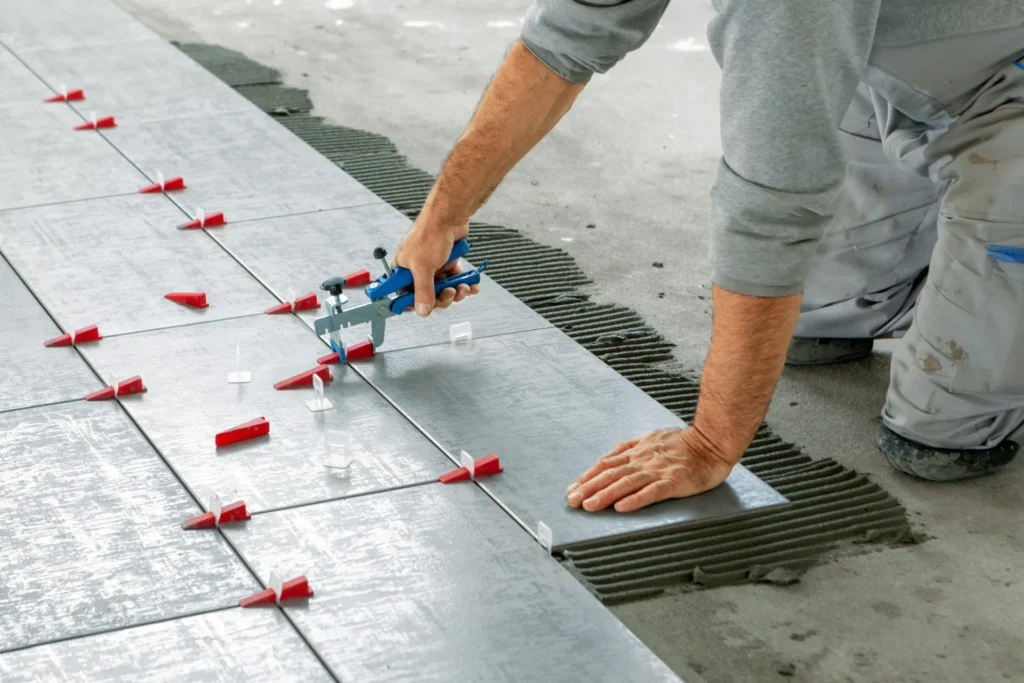
What spacers should I use for grout lines?
Spacers set your joint plan in the real world. Choose hard, accurate spacers for walls and floors. Wedge spacers help fine-tune when surfaces are not perfect.
Pick spacer sizes that match your target joint: 1/16″, 3/32″, 1/8″, 3/16″, and 1/4″ are common. Test on site with a dry layout before you open the thinset.

Spacer guide
| Target joint | Spacer to start with | Notes |
| 1/16″ | 1/16″ T-spacer or horseshoe | Demands flat, even tiles |
| 3/32″ | 3/32″ horseshoe | Good compromise on backsplashes |
| 1/8″ | 1/8″ T-spacer | Common, forgiving |
| 3/16″ | 3/16″ T-spacer | Rustic, outdoor, or uneven tiles |
| 1/4″ | 1/4″ T-spacer | Very rustic, heavy texture |
Leveling clips are not spacers. They control lippage while thinset cures. Use clips with spacers for large-format tiles to keep both height and spacing consistent.
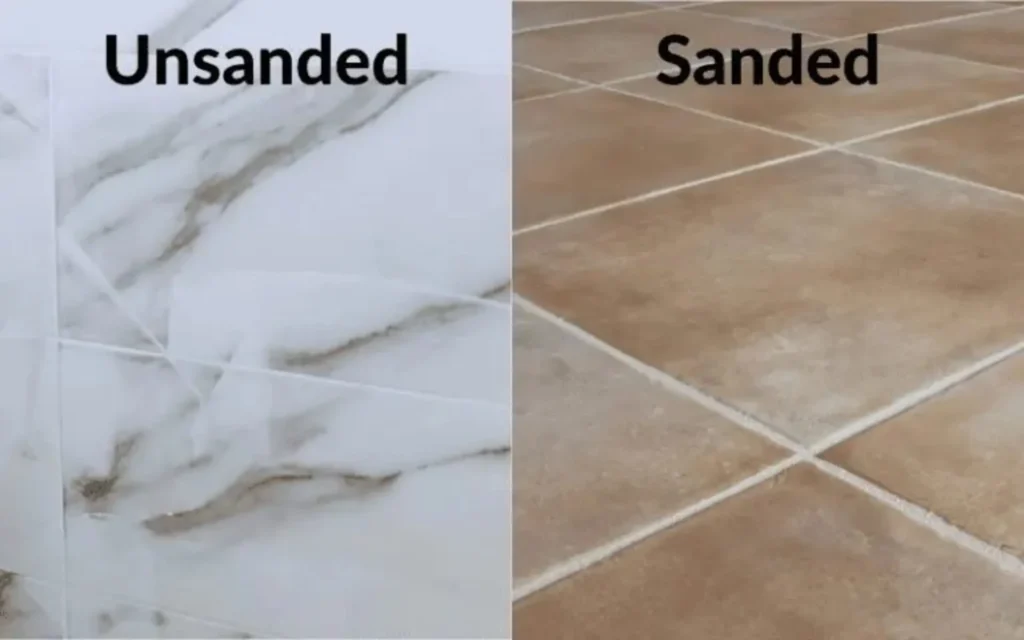
Sanded or unsanded grout for 1/8 joints?
At 1/8″ you can use either, but sanded is often stronger and shrinks less. Unsanded works for delicate surfaces or where the maker requires it. Follow the grout label.
Use sanded for most floors and high-wear walls at 1/8″. Use unsanded on polished stone, glass mosaics, or very tight joints the label supports. For low water uptake and easy cleaning, consider epoxy where it fits the budget and the job.
Grout types overview
| Type | Best joint size | Strengths | Watch-outs |
| Sanded cement | 1/8″–1/2″ | Strong, low cost, less shrink | Can scratch soft surfaces |
| Unsanded cement | 1/16″–1/8″ | Smooth finish, gentle on glass | More shrink; may crack wide joints |
| Epoxy | 1/16″–3/8″ | Stain, chemical, and water resistant | Higher cost; working time |
| Pre-mixed urethane/acrylic | 1/16″–1/4″ | Easy to apply, color consistent | Cure time and cleanup vary |
When in doubt, make a small test board with your exact tile and clean-up method.
Can I tile with no grout lines?
No joint looks tempting, but it is risky. Tiles need a gap for movement, thinset squeeze-out, and edge protection. “Butted” tiles can chip and wick dirt. They are also hard to keep aligned.
Keep at least the maker’s minimum joint. For most porcelain, that is around 1/16″–1/8″, even with rectified edges. The joint does not steal the show if you color-match the grout to the tile.
Why a small joint is safer
- Thermal and structural movement needs space.
- Thinset squeeze needs a path.
- Edge protection prevents micro-chips that grow with time.
If you want the tightest look, choose rectified tiles, a very flat substrate, and a 1/16″ joint with color-matched grout.
How to prevent lippage with grout lines?
Lippage is a height step between tiles. It catches feet and eyes. Joint size helps, but surface prep and setting method matter more. Flat planes make thin joints possible.
Use a flat substrate, the right trowel, proper back-buttering, and a tile leveling system on large-format jobs. Keep joint width wide enough to mask small steps.
Field checklist
Before you set:
- Check floor flatness with a long straightedge; mark highs and lows.
- Grind or fill to meet the flatness needed for your tile size.
As you set:
- Use the correct notch trowel; keep ridge lines in one direction.
- Back-butter large tiles.
- Beat in tiles with a rubber block to collapse ridges.
- Place clips at edges per the system, then add spacers for joint width.
After you set:
- Check height across four corners before thinset skins.
- Adjust clips and spacers while you still can.
- Remove clips on schedule; do not twist them early.
Conclusion
Pick a joint that fits your tile and room. Test with spacers, control lippage, and use the right grout type. Small choices here protect your floors and walls for years.
FAQ
What size grout line is best for 12×24 tile?
Most installs start at 1/8 inch. If tiles vary or floors are not flat, 3/16 inch helps hide lippage. Dry-lay a test row and check in room light.
What is the minimum grout joint recommended?
Many tiles need at least 1/16 inch, even when rectified. Makers may specify more. A tiny joint still helps with movement, cleanup, and edge protection.
Should grout be lighter or darker than tile?
Match color for a calm field. Go darker for a grid look or to hide lines on floors. Test two cards in the actual room light before you decide.
What happens if grout lines are too thin?
They may crack, chip tile corners, or trap thinset. Tiny errors in the substrate show more. Repairs are harder because the joint cannot flex or hold enough grout.
How long should I wait before sealing grout?
Cement grout often needs a full cure period, which can be several days. Follow the label. Epoxy grout usually does not need sealer.
Can epoxy grout be used in showers?
Yes. It resists water and stains well. It costs more and sets faster, so planning and cleanup matter. Ventilation and correct surface prep still apply.
Do I need movement joints in tiled floors?
Yes in large areas, sunlit rooms, or long runs. Perimeter gaps and periodic soft joints help manage expansion. They protect grout and reduce cracking.
What causes grout to crack over time?
Movement, thin joints, weak substrate, or poor cure lead to cracks. Heavy traffic and water intrusion add stress. Fix sources first, then repair the grout.